Author Archives: Michael

Building Techniques in Mid-Century Modern Furniture Video Now Available

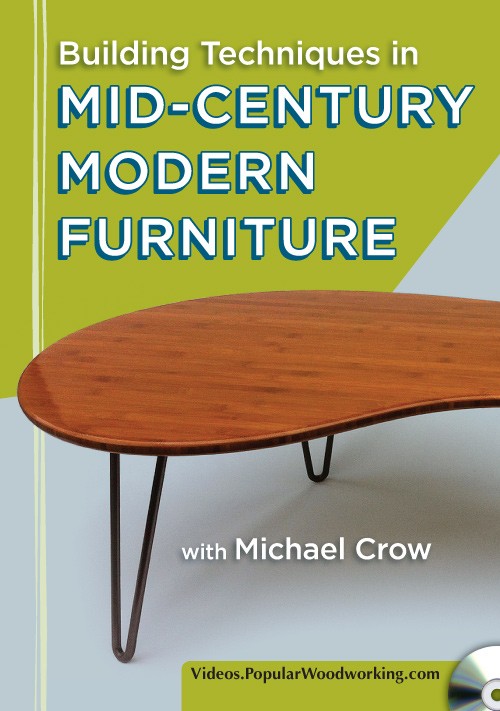
Mid-Century Modern construction techniques cover

Building Techniques in Mid-Century Modern Furniture is now available at shopwoodwhorking.com

I spent the first week of January at the Popular Woodworking shop to shoot a couple of videos. The first, Building Techniques in Mid-Century Modern Furniture, is now available on shopwoodworking.com.

To help promote the launch of the video, I wrote “Five Lessons from Mid-Century Modern Furniture” for the PWM shop blog.

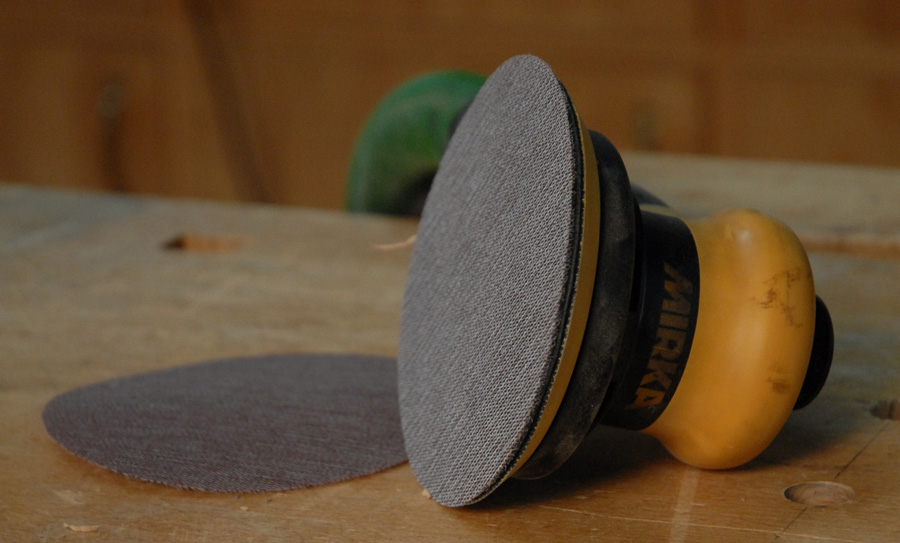
Mirka Ceros 5-inch sander

Mirka Ceros

The Mirka Ceros 5-inch sander offers the utility of an air sander with the convenience of an electric.

One of the fringe benefits of my trip to the Popular Woodworking shop was the chance to try new tools. While Felder’s K3 Winner sliding table saw is sadly too large for my shop, I did enjoy the Mirka Ceros sander. It offers the light weight and low center of gravity of an air sander without the need for a large compressor. The top-mounted paddle switch took some getting used to (I kept setting the sander down on its top and turning it on), but the sander was comfortable in extended use. The Abranet sanding disks cut quickly, though I found them brittle when sanding where to pieces of wood joined: the edge of disk seemed to wear quickly if it got banged up, but cost is likely the tool’s largest drawback–MSRP is $525 for the sander and power unit in a Mirka-brander Systainer–though it doesn’t seem horribly unreasonable for the experience.

On video in the Popular Woodworking Shop

Popular Woodworking Shop

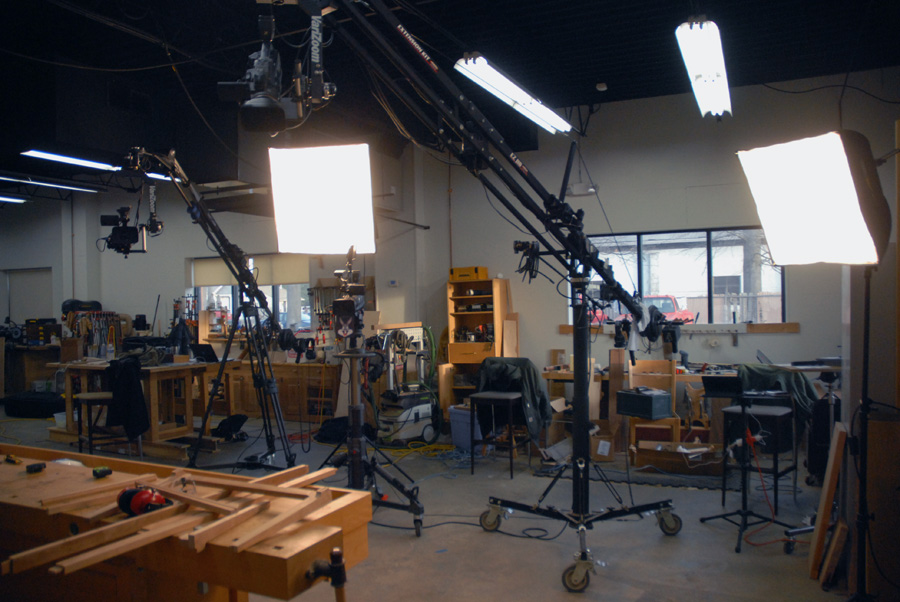
Giant soft boxes illuminate a bench in the Popular Woodworking shop.

I spent the first full week of January in Blue Ash, Ohio at the Popular Woodworking shop to film two videos–one on Mid-Century Modern construction techniques, the other on building a coffee table in the style of Finn Juhl. It’s a little intimidating to be in front of three cameras, but I’m looking forward to seeing the finished product. And I’d love to have those lights in my basement shop.

Of Umbrella Stands and Table Bases

Lambert Umbrella stand

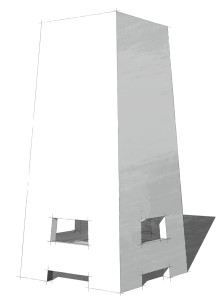
The base of the No. 239 tabouret reminds me of the No. 254 umbrella stand.

I’d leaned the sides of the tabouret against the bench to get them out of the way to begin work on the corbels when something in their shape seemed familiar. Because the Limbert Furniture Company produced so many designs featuring the tapered column base, it took me a minute to realize why these sides look familiar: They are very similar to the the shape of the No. 254 umbrella stand. The stand may have a slightly wider mouth than the table, but both share the same footprint and similar cutouts, though the tabouret features two cutouts the stand’s one. It would be easy to repurpose the template I created to build the umbrella stand, either preserving both cutouts or omitting the second. The umbrellas probably won’t mind if I’m not 100% accurate to the original.…


More Information

The No. 254 Umbrella Stand is one of thirty-three Limbert designs featured in my first book, Building Classic Arts & Crafts Furniture, available on Amazon and Shopwoodworking.com.

Holy @&*! You Can Epoxy Aluminum

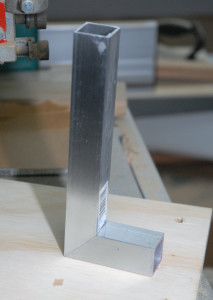
epoxied aluminum miter joint

I’d read in the past that you can use woodworking tools to mill soft metals like brass and aluminum, but I didn’t give that much thought. I also read you can bond metal using epoxy. Again, I didn’t give the fact much thought–until recently. Researching an upcoming project, I’ve finally had cause experiment with epoxy and aluminum tubing, and with my first results, my reaction has gone from “oh, you can epoxy aluminum” to something like “HOLY @#!$! YOU CAN EXPOXY ALUMINUM!” No need to braze or weld, you can just glue. Couple that capability with the ability to mill soft metals using woodworking tools, and it opens up new potential in the shop.

I’m still in the early stages of my experimentation, practicing simple and compound miter joints, but it’s a short step from experiment to fabricating parts. The base of a Nelson bench comes to mind, as does a variation on an Eames surfboard table.

To build the miter:

  1. Cut the aluminum tubing at the miter saw.
  2. Sand the miter with 50-80 grit paper. Scuffing the metal helps the epoxy adhere to it.
  3. Clean the metal with mineral spirits.
  4. Mix epoxy per the instructions. I used JB weld.
  5. Apply the epoxy yo the tubing and clamp together. I used a corner clamp for this miter, but for a trapezoidal frame (like the base of the Nelson bench, I’ll try packing tape.


More Information

  • Chest of Books has posted an electronic version of G. W. Birdsall’s Do It Yourself With Aluminum. It’s an older title, but has useful information on cutting, shaping, and joining aluminum.
  • The Nelson Bench is one of 29 projects featured in my Mid-Century Modern Furniture.

Limbert No. 239 Tabouret–Design

No. 239 Tabouret

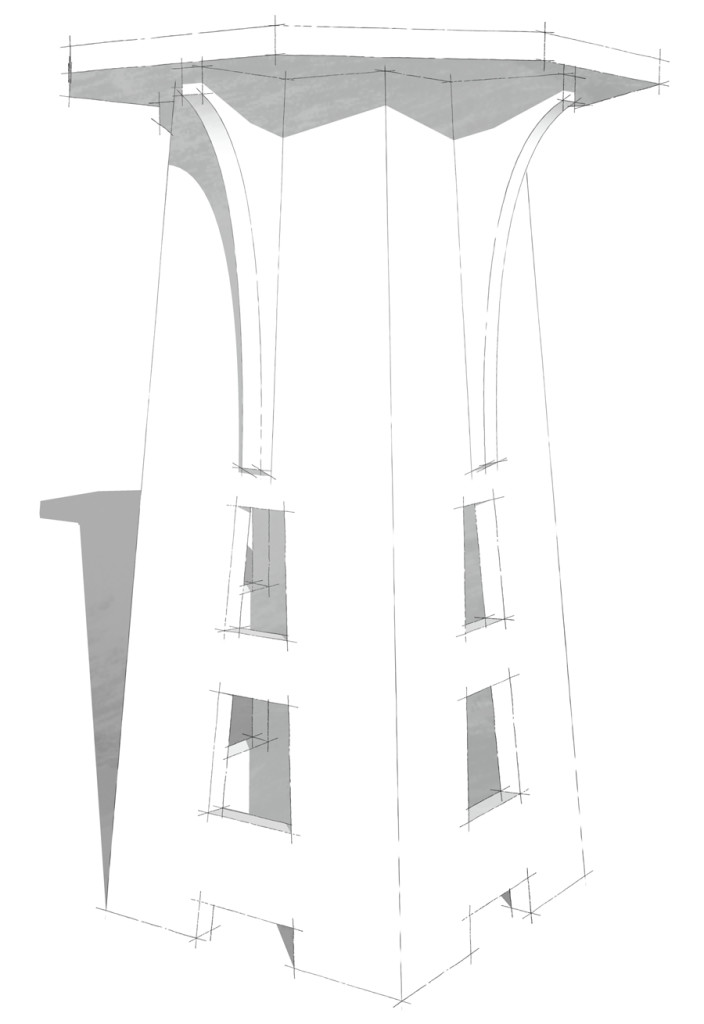
Like several other designs from the maker, Limbert’s No. 239 Tabouret features an octagonal top over a tapered columnar base.

The Limbert furniture company produced several occasional tables on the same theme–an octagonal top supported by corbels and a tapered columnar base. The No. 239 also features two cutouts on each side, the shape of cutouts echoing the shape of the sides.

Milling a Windowsill

A window sill

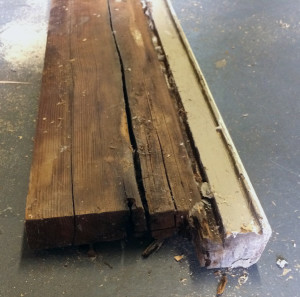
The bottom of the original sill. The tightly-spaced growth rings are a sight to behold.

My neighbor presented me with an interesting challenge: mill a new windowsill for a garage window. He was replacing the old window and needed to replace the rotted sill. The original featured beveled edges to account for the angle of the sill and two grooves its bottom. The shallow groove provides a drip edge to keep water from running under the sill. The deeper groove accommodates the edge of the siding.

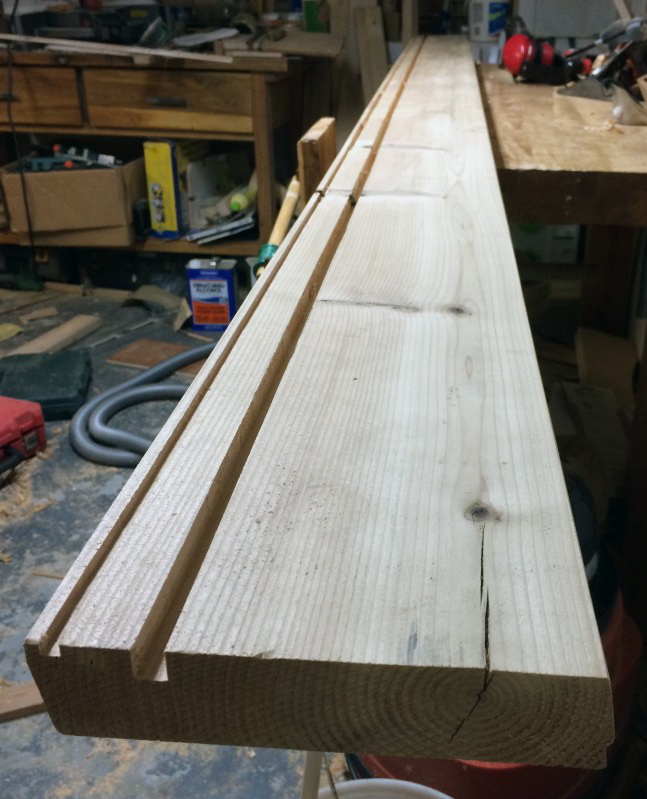
Milling the new sill was straightforward. Using the original sill as a reference, I set the table saw blade to the bevel angle and ripped the bevel. The complimentary angle on the opposite side was achieved by flipping the board and running it down the other side of the blade. After planing my saw cuts to produce a finished edge, I used a router to plow both grooves, taking multiple passes with a 1/4″ straight bit to produce the correct width and depth for the grooves.

The new sill, featuring much wider growth rings.

The new sill, featuring much wider growth rings.

Mid-Century Production Design

Mid-Century living room

The Masters home from Masters Of Sex (Photo: Michael Wylie)

The AV Club recently featured an article on what it’s like to be a production designer. The interview subject, Michael Wylie, designed the sets for Masters of Sex. There’s not much on Mid-Century, but it was interesting to read about how Wylie used production design to help establish the personalities of Ben Masters and Virginia Johnson. In Johnsons’ case, the austere Mid-Century decor reflects a repressed personality.

Mid-Century Modern Book Case in Popular Woodworking

Popular Woodworking October 2015 Cover

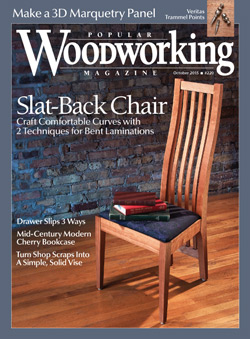
The October 2015 issue of Popular Woodworking Magazine includes my article on building a Mid-Century Modern book case.

The October 2015 issue of Popular Woodworking Magazine features my article on building an open-backed book case (it also works as a room divider) in the Mid-Century Modern style. I’ve detailed parts of the build on 1910 Craftsman, but the article goes into depth on step-by-step construction. I’m in good company in this issue–I enjoyed Jeff Miller’s article on the slat-back chair and am sorely tempted by Lee Valley’s new trammel points.

You can read the introduction to my article on the issue index or order a copy from shopwoodwhorking.com. This case is one of 29 designs featured in my book Mid-Century Modern Furniture, which is available on Amazon and shopWoodworking.com.

A Greene and Greene-inspired arbor

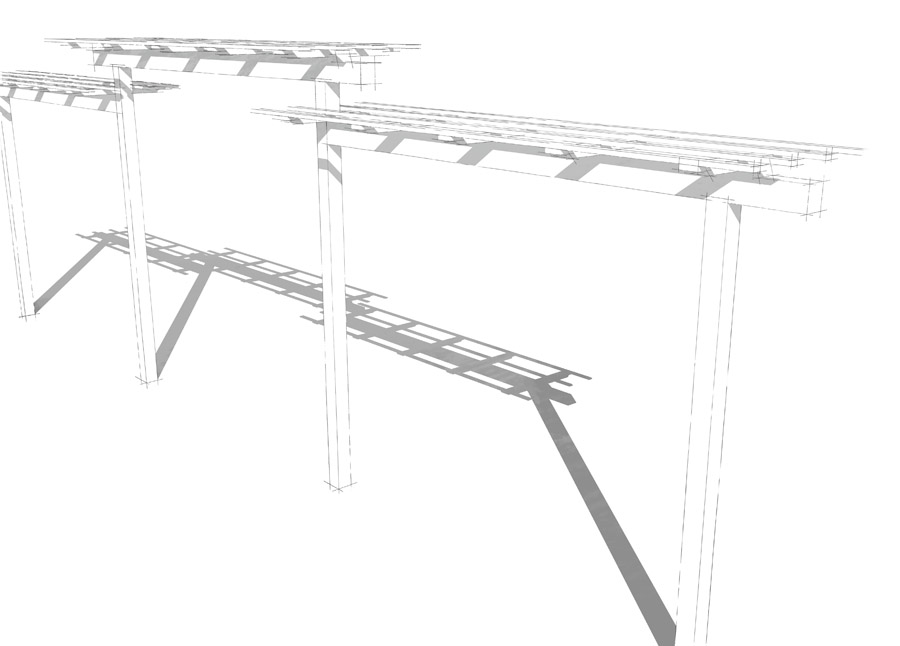
Option 1: beam with single step.

This design features a single step and rounded beam end.

We’ve been contemplating an arbor to provide some visual separation between our house and the neighbors (small lot sizes are not a problem unique to modern times–Early 20th century developers are sometimes as guilty of maximizing the number of lots as their spiritual descendants). We like the idea of Wisteria in the landscape, but too many horror stories about lifted houses and ruined porches have dissuaded us from growing it on the house.

Image searches for “Craftsman arbor” and “Greene & Greene arbor” provided some inspiration, and I settled in to SketchUp to model a couple of variations. Both share the same basic layout with posts on eight-foot centers and the top beams staggered provide a little visual interest. A secondary beam below the first provides another path for vines. The first alternative features a simple step down on the rounded beam end, while the second features a stepped taper on the beam end. We are leaning toward the stepped taper design. If only post-and-beam construction were as easy as modeling something in SketchUp . . .

Option 2: beam ends with double stepped tapers.

This design features a double stepped taper on the beam end, but the basics of the design remain the same as the first option.