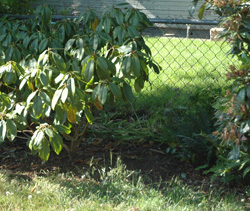
Functional but ugly.
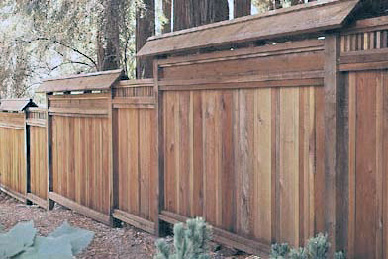
I thought about fences for what seemed like years, looked all over for inspiration, contemplated material lists in Manila, shot promising examples in Japan. We were replacing a 40 inch cyclone fence and wanted something more appealing than the typical lattice over board infill designs popular in the area (imagine pressure treated 4×4 posts, pressure treated 2×4 rails, 1×6 cedar infill to 5 feet and a foot of 2 inch lattice above), although anything would have been an improvement over the chain link.
Requirements:
- Suitable for the house
- Wood
- Scaled for a small yard
- 6 feet high with a ~5 foot privacy panel and ~1 foot lattice top
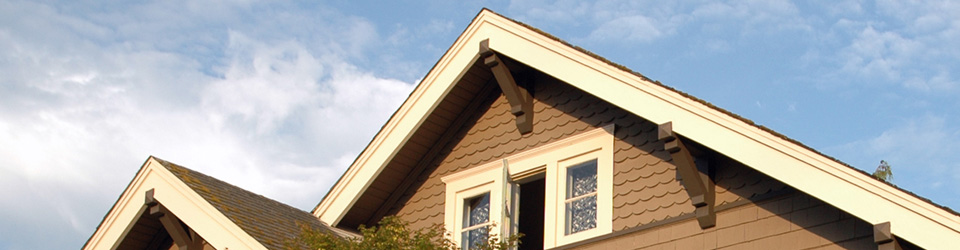
This design featured in a California Redwood Association brochure provided the starting point for our design. Source.
It was surprisingly difficult to find something we liked (see here and here for useful resources). In the end, we modified a design featured in a California Redwood Association brochure. The six-foot high fence consists of alternating panels of of four- and eight-foot length supported by four-by-four posts. Alternating wide and narrow boards (wide-narrow-narrow-wide) compose the privacy section of each panel, but the tops of the short and long panels differ. The short panels feature a simple vertical and a gable tops the long panels. We liked the alternating gable tops and the use of wide and narrow boards but used panels of the same length, spacing posts 6 feet on center to suit the size of the yard.

Concept drawing for the fence.