Monthly Archives: December 2013

Doormaking and Window-Making for Carpenters & Joiners

… though some so-called up-to-date men may dub them old-fashioned, they are not so by any means, being in constant use at the present time for good work by many who decline to do “jerry” work

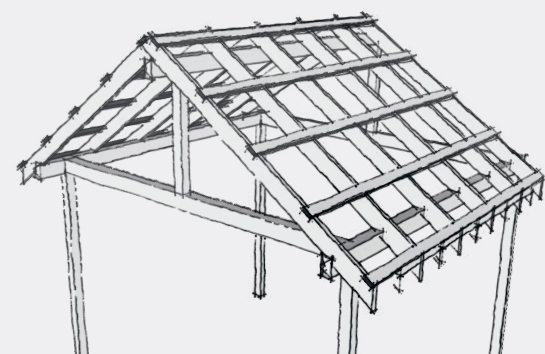
I’m taking a short break from timber frames to review Lost Art Press’ new Doormaking and Window-Making for Carpenters & Joiners (available here). The book collects in a single volume two booklets originally written by an experienced joiner and published in England in the early part of the Twentieth Century.  Get past what may seem overly-formal language to a modern ear, and the book contains a wealth of useful information. Doormaking covers the construction and installation of board-and-batten and frame-and-panel doors as well as door frames. Window-Making moves from the simple to complex, detailing the construction of casement and sliding sashes and frames, then bay windows before concluding with Venetian windows. Frequent drawings and occasional photographs illustrate the text. The care with which the originals were scanned and reproduced is evident—the text and images are clear and show minimal artifacting. And all of this comes in a delightful package: the diminutive hardback is embossed with a drawing of the bolection-molded three-panel door (figure 64 from Doormaking), a visual invitation to open the book and learn. Continue reading

Timber Frame Porch–Purlins

purlins

Half-lapped purlins create another layer of visual interest while supporting the roof panels.

The roofing panels I selected required purlins 24 inches on center to prevent sag. Initially, I’d considered installing blocking between the rafters, but after reviewing timber frame images with purlins that ran over the rafters, I drew versions with blocking and overlaid purlins and decided half-lapped purlins looked better than blocking or a simple overlay.

To cut the half laps, I laid out the joints on 2 x 6 stock and used a straight bit in the router guided by a dado jig to notch the stock. After cutting the joints, I ripped the 2 x 6 stock into 2.5 inch strips and rounded over the cut edges with a 1/8″ roundover bit.

After the joinery, installation was easy. The first purlin was set in place at the end of each rafter and screwed into place at every joint. I then used spacer blocks to position the next purlin and fastened it in place. Repeat ten more times, and the porch was ready for a roof.

Timber Frame Porch–Ridge Beam and Rafters

half lap jig

The angled fence guides a top-mounted bearing in a flush cut bit and a stop positions the fence at the correct location for the half lap.

I debated whether to include a ridge beam in the  porch design since it would reiterate the three-beam look of the house’s fascia, and the fact that it would simplify installing rafters finally persuaded me. The joinery was identical to the other beams: an end bevelled on the miter saw and two housed mortises cut with a router and jig. I pinned the half posts into the ridge beam and hauled the whole unwieldy assembly up a ladder and dropped it into place. With the base complete, I was ready to move on to rafters.  Continue reading

Timber Frame Porch–Base Assembly

After pinning the post tenon, the peg is sawn flush to beam.

After pinning the post tenon, the peg is sawn flush to beam.

White oak has a pleasant, nutty scent, a fact of which I was reminded as I sawed the pegs flush to the beams during the last part of base assembly on a surprisingly sunny November day. Assembly began with a final test fit of each tenon into its respective mortise. Once they fit smoothly, I drilled the beams for the pins, and marked the tenons for the offset holes required for drawboring the joint. The offset helps to pull the joint tight and to keep it tight even if wood shrinkage tends to pull it apart.

Continue reading

Tree Nail

A V-groove hold the blank in position. The rough circle shows the finished outline of the peg.

A V-groove hold the blank in position. The rough circle shows the finished outline of the peg.

The tree nail, or trunnel, is a wooden peg used to pin the tenons of a timber frame to their mortises. Commercially available pegs are turned on a lathe, but traditionally they are shaped from rived wood, often using a draw knife to round the wood while it’s secured in a shaving horse. Riving, or splitting peg blanks instead of sawing them, ensures the grain of the wood runs continuously through their entire length and minimizes the risk of the peg splitting when it is hammered home. Since timber frame joints are usually drawbored–the hole in the tenon is offset slightly from the hole in the mortise walls–the continuous grain of a rived peg is especially desirable. Continue reading