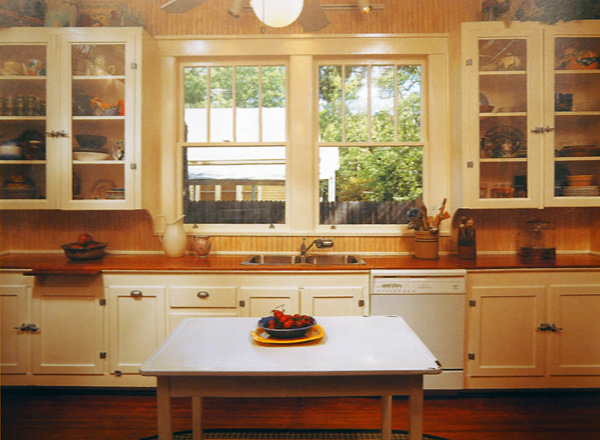

The west wall of the kitchen with a nook for the fridge.
House listings share with résumés an attempt to put the best light on the subject, and when writing either, it is easy to slip from positive spin to exaggeration, and to outright lying. The listing for our house claimed a recently updated kitchen, but “recently updated” here turned out to be some newish paint, a sheet vinyl floor less than a decade old, and new knobs on the cabinet doors. About the only thing that could be said for the kitchen when we first looked at the house in 2007 was that it didn’t feature cherry cabinets, granite counters, and stainless steel appliances. That particular look palled quickly as we scanned listing after listing and saw that 95% of all updated kitchens featured cherry and granite. By comparison, the gray walls, laminate countertops, and out-of-scale beige wall tiles were less than inspiring, certainly, but not a deal breaker. We could live with it for a time while we tackled more urgent projects–painting over the garish, glaring “designer colors” elsewhere in the house. And at least we wouldn’t have to feel bad about replacing a new kitchen.
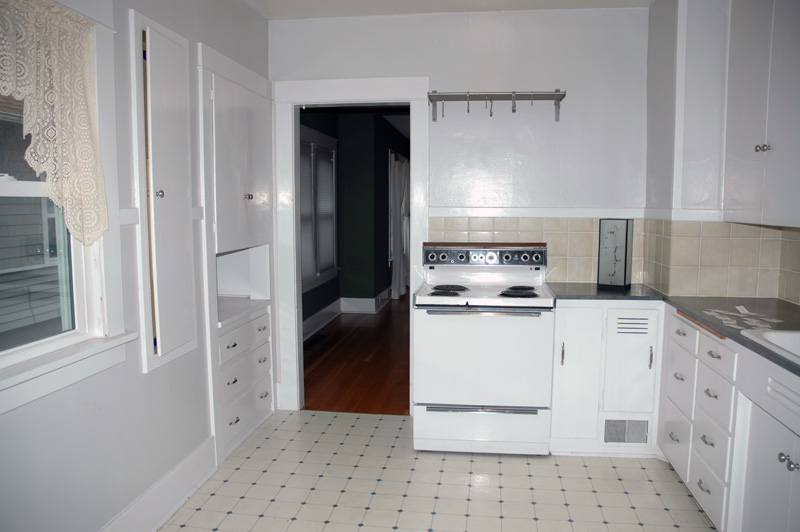
The west wall of the kitchen. Note the built-in ironing board at left.