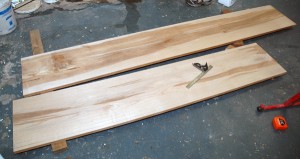
Using wide boards minimized glue up, but it also required flattening them by hand. Fortunately
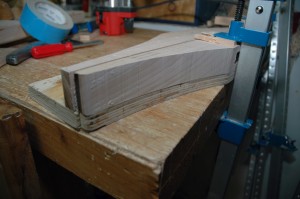
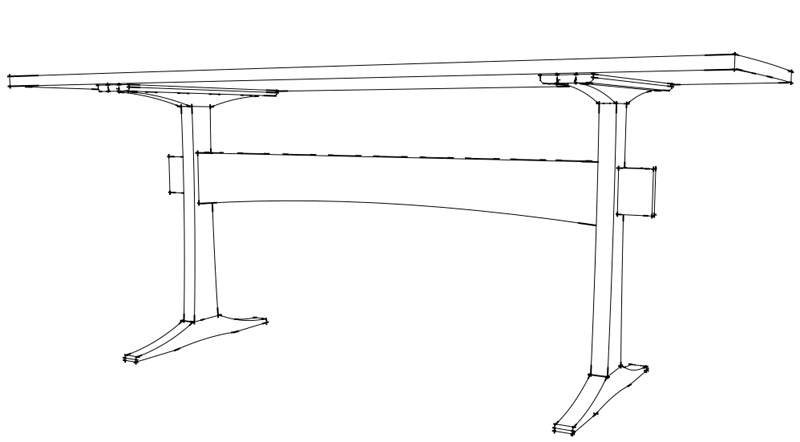
they were in good shape and were ready for glue before too long. While the top dried, I turned my attention to the trestle ends. I began by shaping the patterns for the feet and caps of the trestle ends. Before shaping those parts, though, I cut the mortises for the through tenons using a guide bushing and pattern. I had originally planned on using sliding dovetails to attach the top to the base, but after a couple of disastrous attempts to rout the dovetails, I decided to use screws instead.
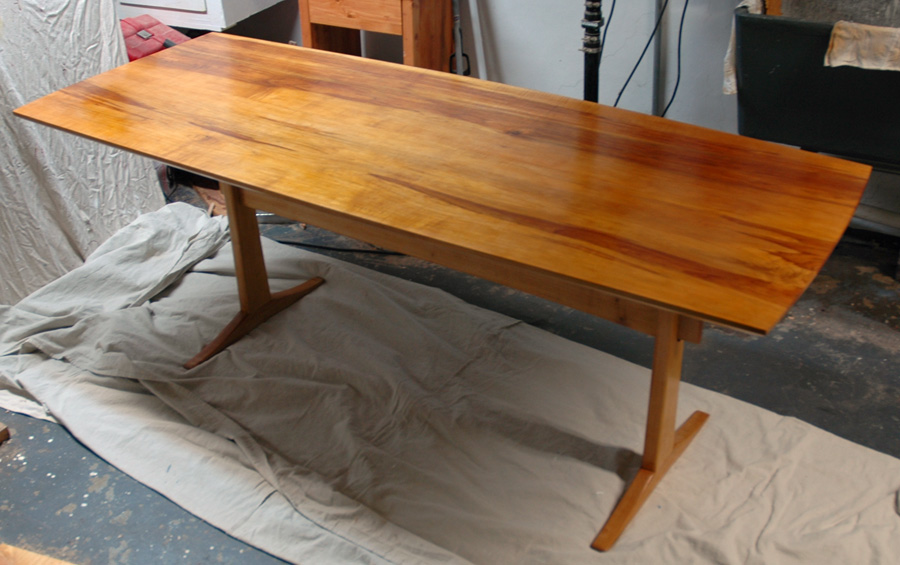
The end posts were tenoned and mortised before shaping as well. With the curved tapers cut and smoothed, the ends were ready for glue. With the tenons wedged tight and glue drying I could return my attention to the top. Gently curves add some subtle visual interest to the top. I roguhed these out with a jigsaw, then planed them smooth, but it would have been easier to simply plane the curves on the long edges. As it was, the jig saw wandered a bit in the cut, and I had to use a chamfer along the bottom edge instead of a roundover on the the top and bottom edges.
The stretcher proved too long to tenon on the table saw, so I cut close on the bandsaw and fine tuned the fit by hand. Cutting the angled mortises for the wedges was probably the most difficult aspect of construction, but the wedges add a nice detail as well as allowing the base to be knocked down for transport. I cut the wedges on the bandsaw and fit each one to its mortise, then sanded all parts through 220 grit before applying several coats of orange shellac. Since a dining table is likely to see some abuse as well as exposure to water and alcohol, I topcoated the shellac with polyurethane.
In retrospect, I’m sorry I couldn’t get those sliding dovetails cut. They’re a more elegant solution to attaching the top to the base than screws. And while the shellac warmed the soft maple nicely, I’m curious to see what a little dye in the mix would have yielded.


