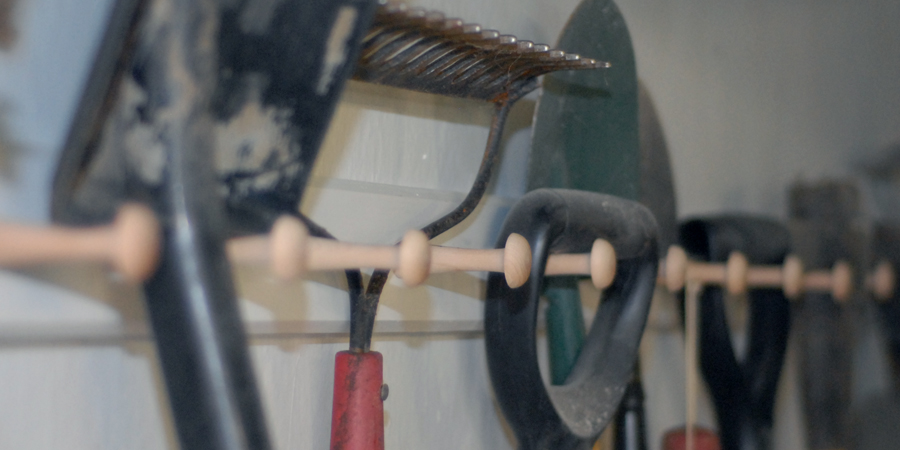
I’ve wanted some method for storing yard implements for some time, but I wanted something with more appeal than the utilitarian plastic and metal options available. I finally decided that Shaker peg board would make a nice alternative. I ordered some maple pegs online, but only afterward did it occur to me that even my best free-hand drilling attempts were likely to leave the pegs at least slightly off-center and a bit splayed. So I deferred and other projects intervened until I had access to a drill press and was ready to build. Consulting Thomas Moser’s How to Build Shaker Furniture and John Shea’s Making Authentic Shaker Furniture, I decided on a three-inch wide board with the pegs set 6″ on center.
Actual construction went quickly. After ripping some poplar to width, I planed away the machine marks on the show side of the board, ran a chamfer around its perimeter and hit it with a quick pass of 220 grit sandpaper before priming and painting. I then marked the location of the pegs using dividers and a square, then drilled them out with a 1/2″ Forstner bit. I had contemplated different fastening techniques, ranging from a French cleat, to plugged screw holes, when it occurred to me that each peg was an effective plug. So I drilled pilot holes in every few peg holes, positioned the board on the wall, and marked the concrete wall. Even with a hammer drill, it took some time to drill holes for masonry anchors. With the anchors finally set, I screwed the board to the wall and tapped the pegs into place with a wooden mallet.


