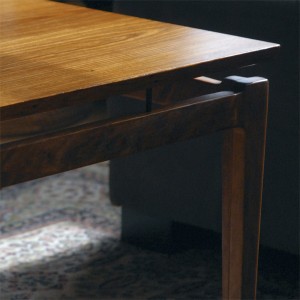
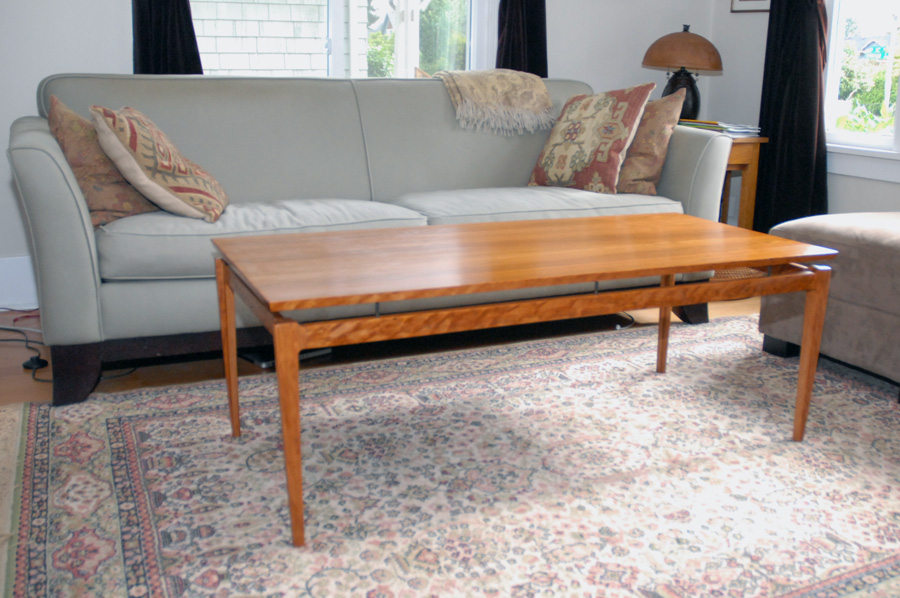
Construction began with the top. I cut a 3/4″ plywood panel 1/4″ undersized to account for the 1/8″ edge banding with my tracksaw set at angle to cut the bevel. After ripping stock into 1/8″ strips, I spread a bead of glue along the short plywood edges and gave it a minute to size the join, then applied another thin bead of glue and taped the banding in place with painter’s tape. When the glue dried, I trimmed the banding and then banded the long sides. While the glue dried, I cut the pattern for the legs and shaped it to final size, then roughed out leg blanks and routed them to final size. I’m glad I cut extra blanks since I destroyed several while trying to rout the curve of the stub out–the short grain is prone to blowout. The composite leg design contains a long side and a short side. To produce the short side, I ripped a final long side and planed it to final width. This part served as a template for the other three short sides. After pattern routing the other three short sides, I rabbeted a tongue to complement the grooves in the long sides and cut the mortises for the loose tenons that join the stretchers and legs. Since the stretchers transition seamlessly into the legs, I glued up sub-assemblies–two short and two long sides–then sanded things until I had fair transitions and worked through the grits to 220 before wiping on a couple coats of boiled linseed oil and letting the cherry darken in the sun for a couple of hours. I then glued the base together and applied a couple coats of amber shellac to the base and top. The top received three coats of polyurethane as well since I expect to see it some heavy use. I drilled slightly undersize holes in the long stretchers for the steel pegs and cut the pegs with a metal blade in the jigsaw. A file cut a quick chamfer on the ends of each peg. I tapped the pegs home and set the base on the table to mark the locations of the corresponding holes. After drilling the holes, I cut some spacer blocks to ensure a consistent 1 1/8″ gap between the base and the top, set the top in place on the base and used a wooden clamp to slowly squeeze the top down without marring it. The final effect is quite pleasing: the top appears to float above the base, its bevelled edges a pleasing surprise.


Pingback: Mid-Century Modern Furniture available for pre-order | 1910 Craftsman
Pingback: On video in the Popular Woodworking Shop | 1910 Craftsman
Pingback: Build a Mid-Century Modern Coffee Table | 1910 Craftsman