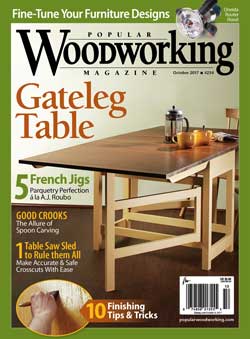
My article on building a Mackintosh Tea Table appears in the October 2017 issue of Popular Woodworking.
The current issue of Popular Woodworking features my article on building the Mackintosh tea table with measured drawings and cut list.

My article on building a Mackintosh Tea Table appears in the October 2017 issue of Popular Woodworking.
The current issue of Popular Woodworking features my article on building the Mackintosh tea table with measured drawings and cut list.
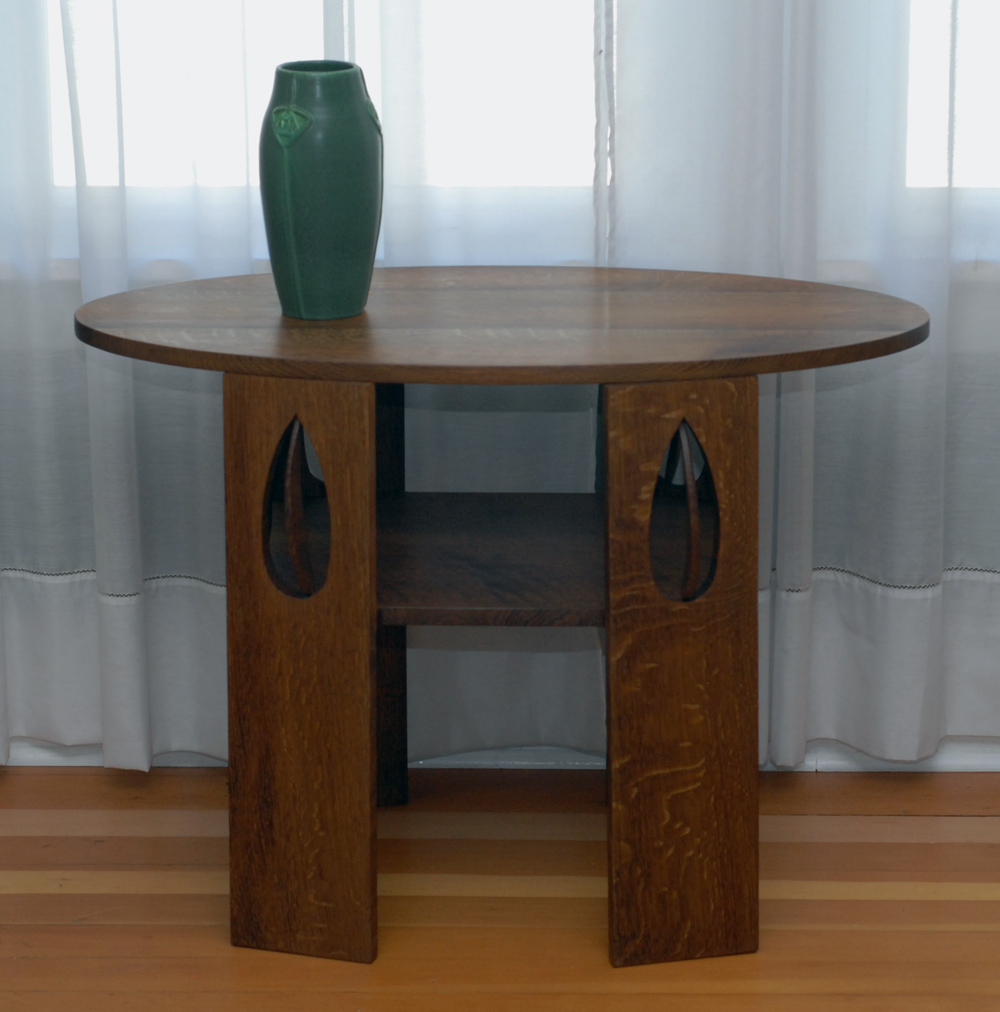
The carved leaves present the greatest joinery challenge in this reproduction of a Mackintosh tea table design.
Reproduced in quarter sawn white oak, this tea table designed by Charles Rennie Mackintosh shows its art nouveau and Arts & Crafts roots, perhaps mores than in the original’s white painted finish. The carved leaves are the most daunting aspect of the build; otherwise construction relies on dadoes and half-blind dovetails. Patterns for the shelf, top, and cutouts help make quick work of repetitive actions.
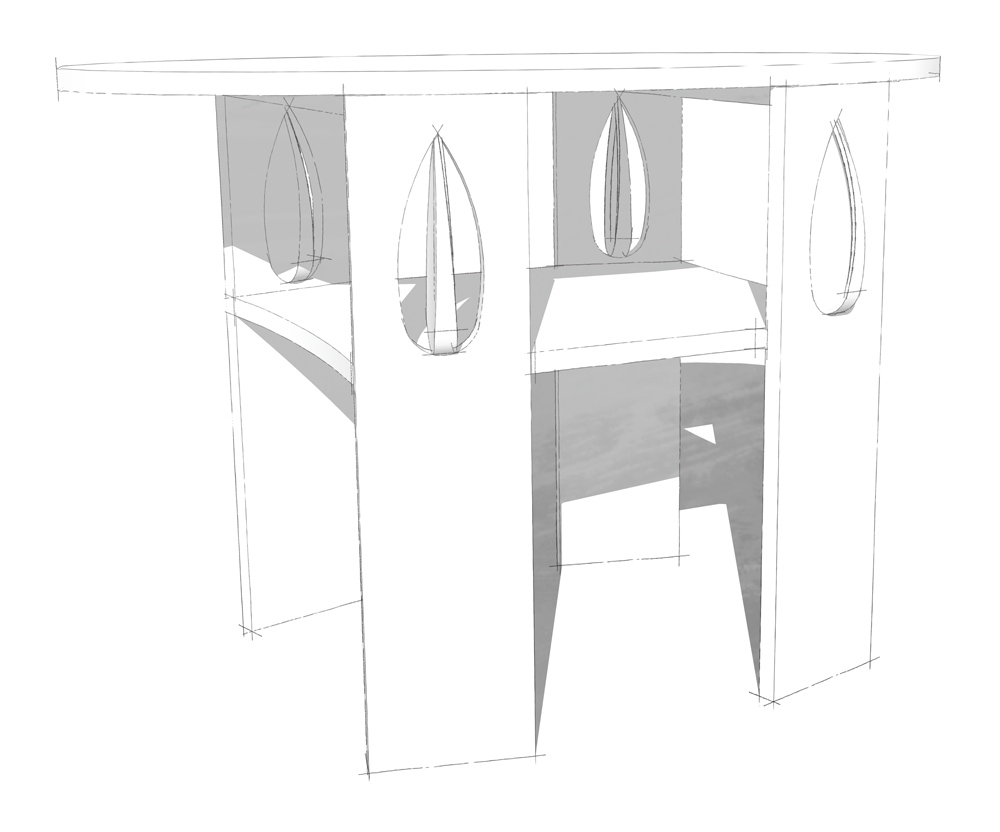
Mackintosh’s design for a tea table features an elliptical top over a base with four slatted legs. Set to follow the curve of the top, the legs feature carved leaves set in cutouts.
In a world where living room furniture is often designed around the TV, a tea table can seem an anachronism. Shorter than a dining table, they provided a space for conversation over tea. Today they can still serve for intimate dining or largish occasional tables. This design by the Scottish Architect Charles Rennie Mackintosh features an elliptical top over a base with four slatted legs. The legs are set at an angle relative to the base so that they appear to follow the curve of the top. Cutouts frame carved leaves, an organic embellishment showing an art nouveau influence.
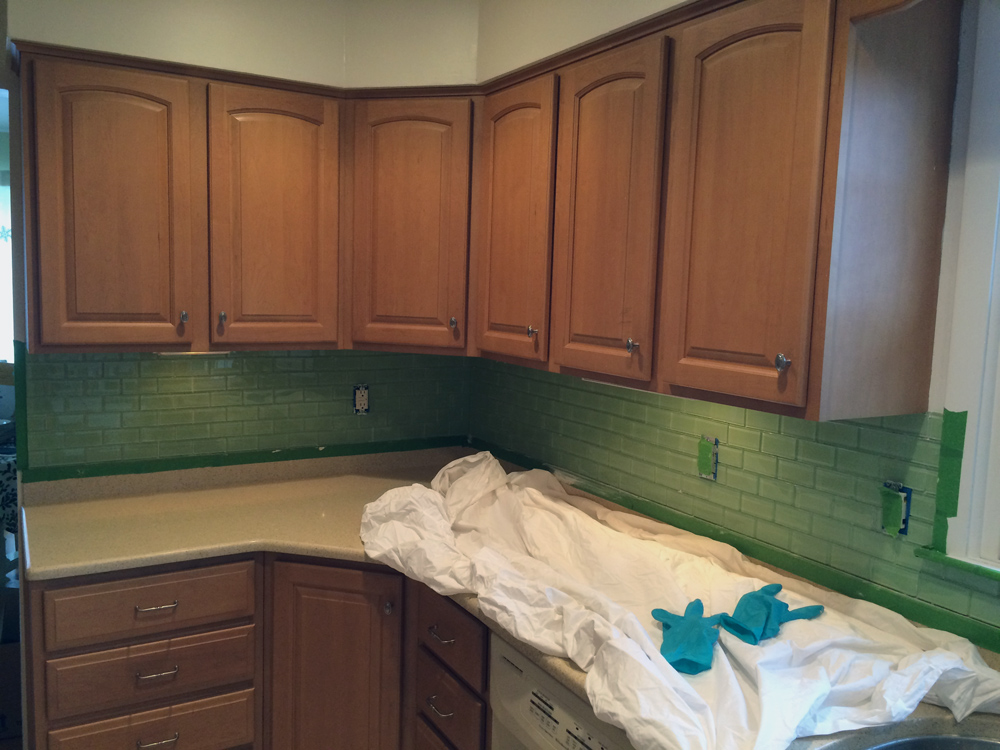
The tile installed and ready for grout.
Having tiled with ceramic tiles, I expected using glass to be very similar. That expectation was met. The reading I did beforehand (This Old House and DIY network were especially useful) suggested special care to avoid scratching the tile’s show surface and to accommodate glass’s translucent characteristic. In practice, I found the glass tile not especially prone to scratching, and the opaque color applied to the back meant my thin set lines didn’t telegraph through the tile, so quickly gave up on knocking them down. The one place I did take special care throughout the project was when cutting tiles–they seemed more prone to chip out than ceramic tiles, so when making cuts, I would cut in from one edge slightly then flip the piece over and finish the cut.
Layout is perhaps the most important aspect of a tiling project, and the kitchen set up made that task easy for this project. I worked in from each exposed edge toward either a corner or bank of cabinets and was able to run 7 full courses of tiles up the wall. The irregular vertical positioning of outlets made for some awkward cuts, but we were still able to install the entire backsplash, grout, and caulk over four days.
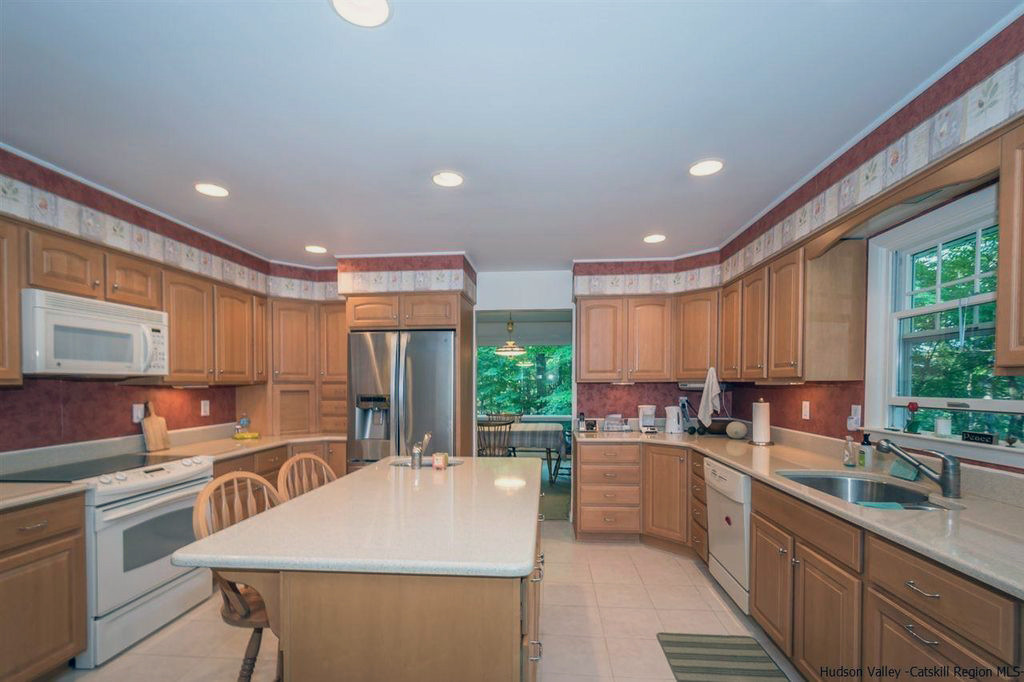
The renovated kitchen in my sister-in-law’s kitchen included a wall paper treatment featuring marbled burgundy and floral border. Image via Zillow.
Over the holidays, my wife and I installed a glass tile backsplash in my sister-in-law’s new house, replacing the wallpaper installed by a previous owner as part of the kitchen renovation. Although labor intensive, it’s not too technically challenging a project. It helped that they’d stripped the wallpaper and scuff sanded the sheetrock beneath to provide tooth for the thin-set we used to adhere the tile.
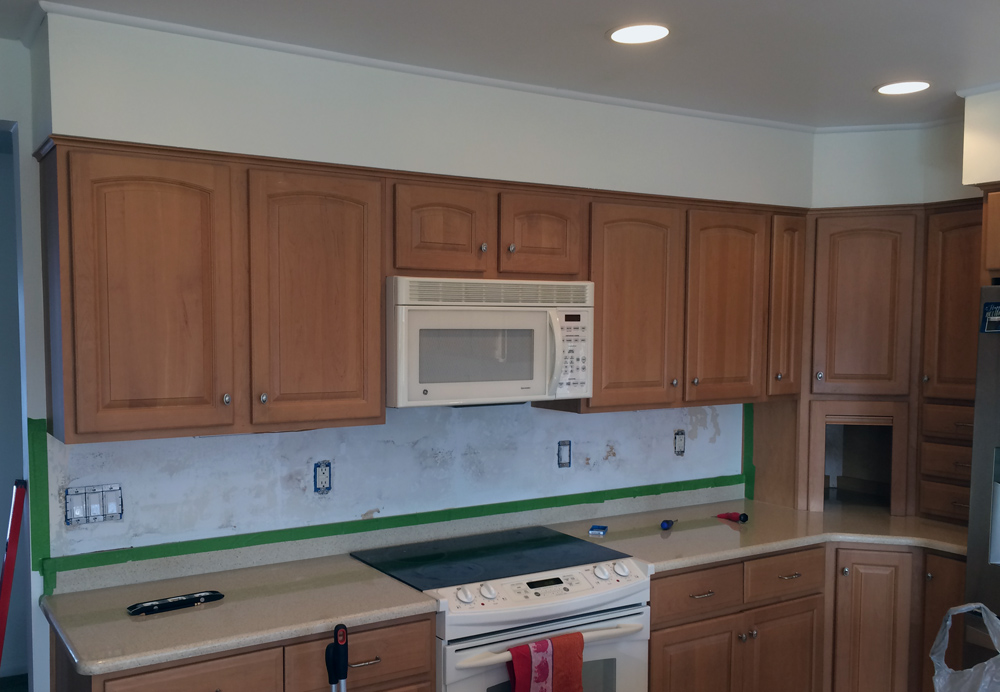
Once the wallpaper was stripped and the sheetrock scuff sanded, the backsplash was ready for tiling.

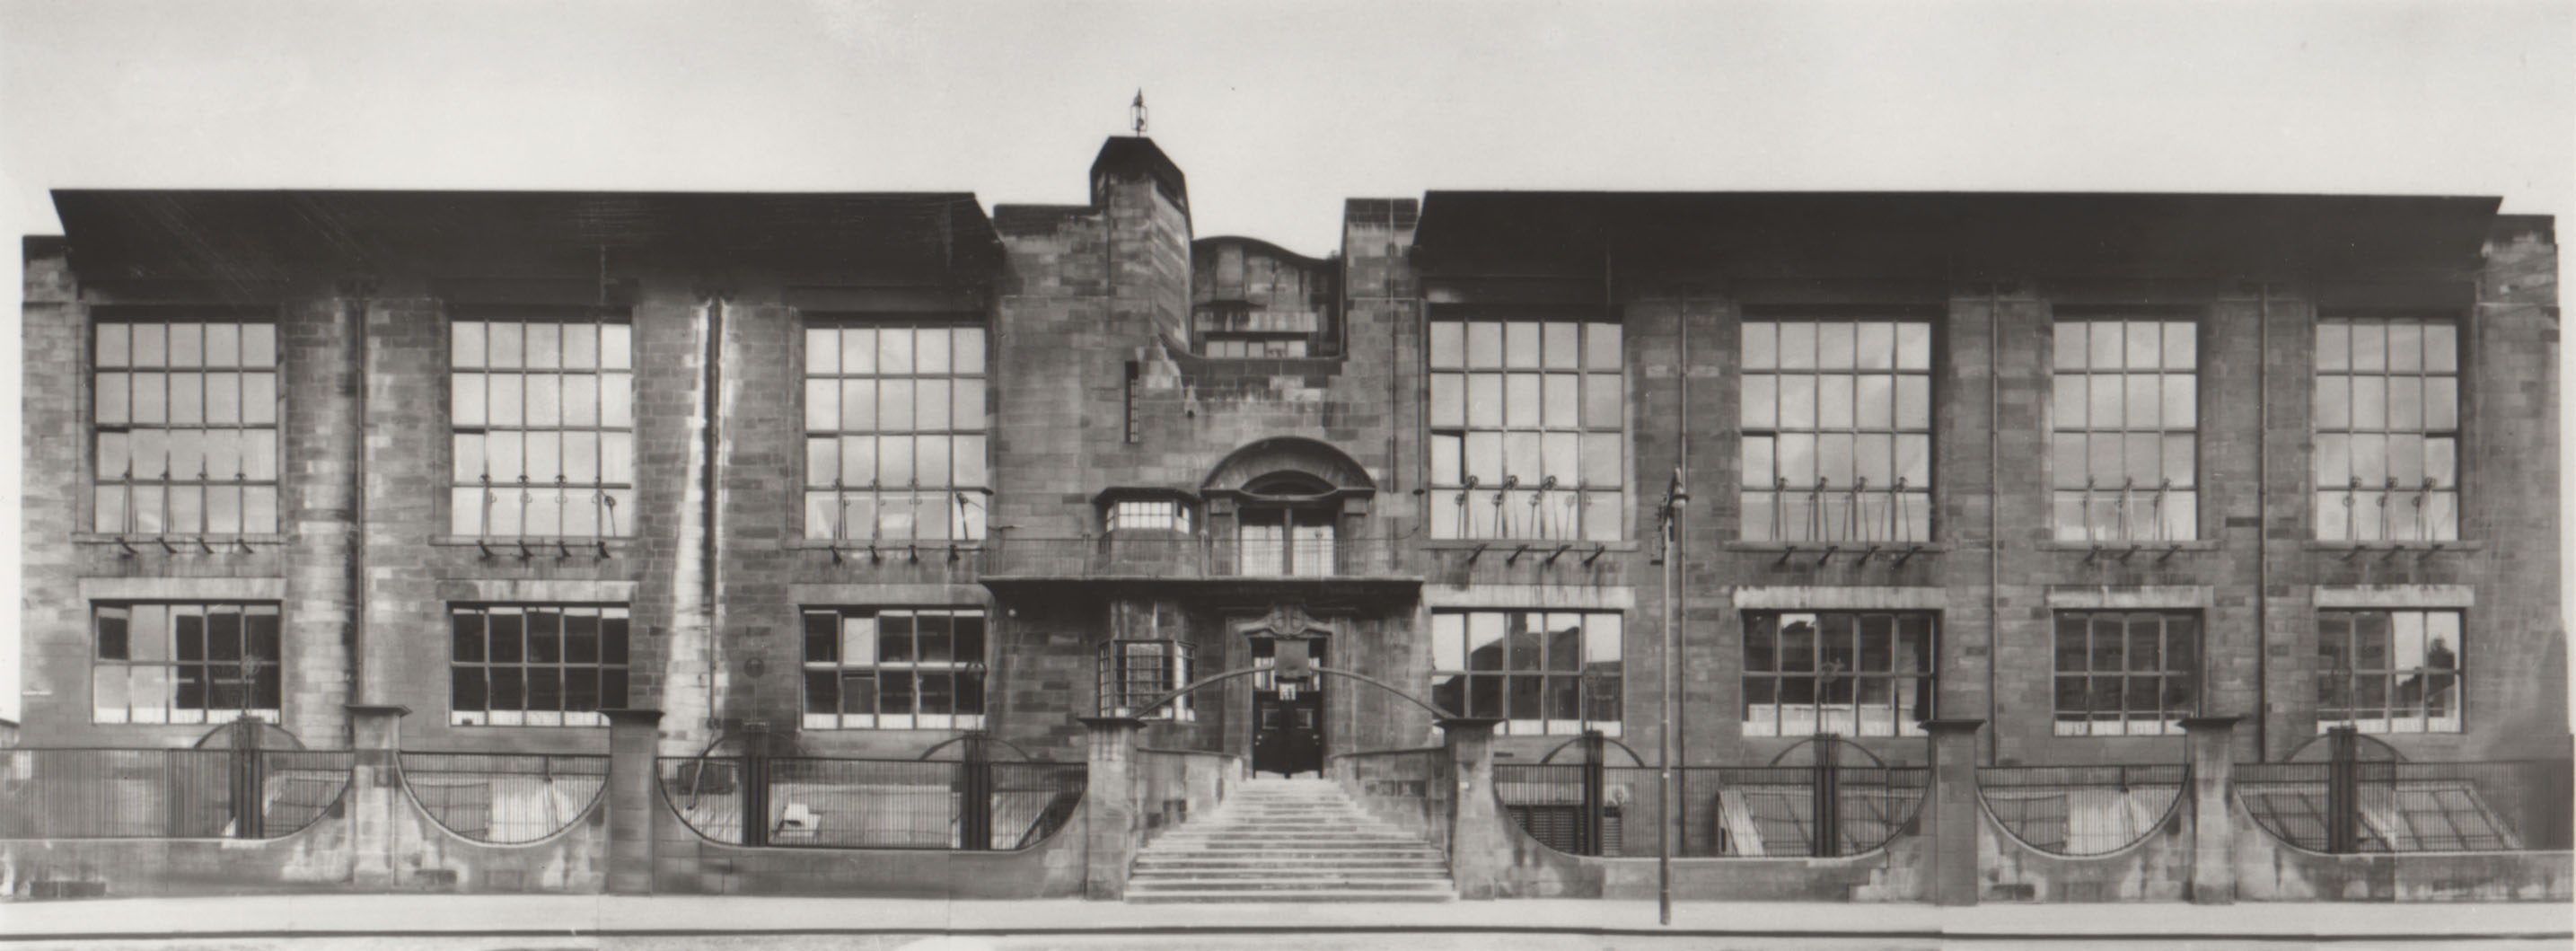
Mackintosh designed the Glasgow School of Art in two phases. This archival photo from the GSA’s collection shows it after completion of the second phase.
Although it met with mixed reviews upon its completion in 1909, Mackintosh’s design for the Glasgow School of Art is now generally regarded as his masterpiece. Built in two phases, it bookends the peak of his creativity. Today later construction has crowded the building, so it is interesting to see it captured, as in this photo from the School’s archive, in its original context.
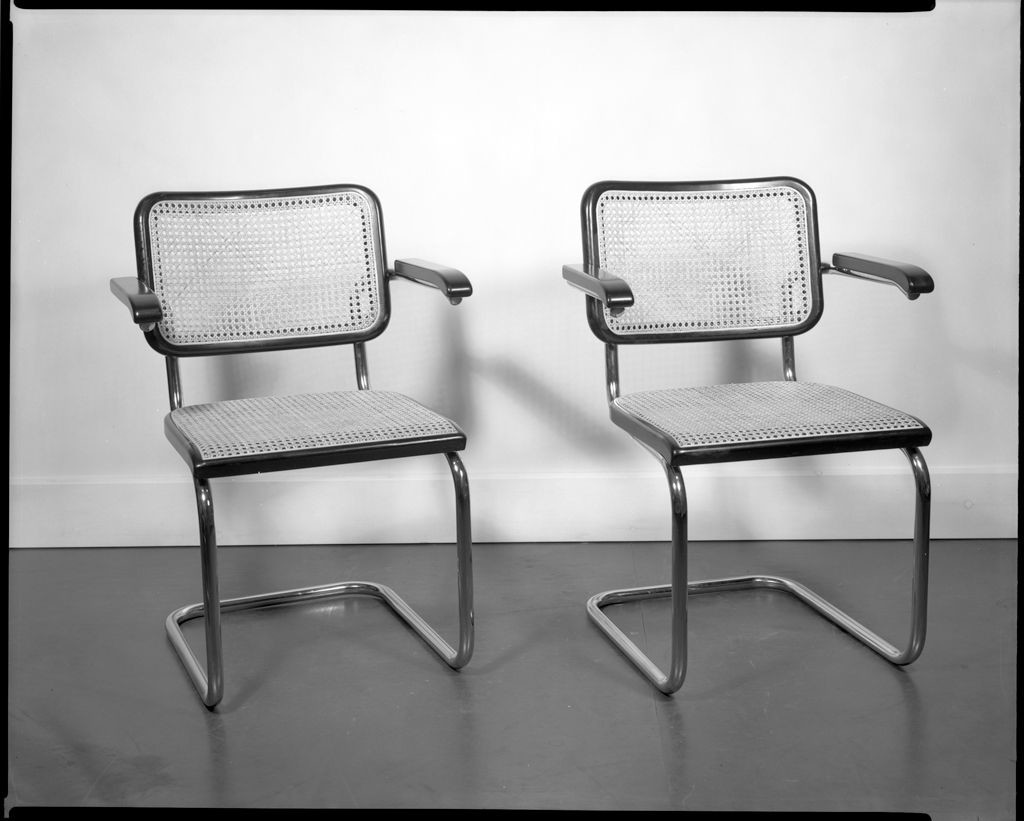
The Harvard Bauhaus collection now online includes this Breuer armchair built by Thonet. © President and Fellows of Harvard College
Harvard’s expansive collection of Bauhaus artifacts is now available online. Accessible through search or a variety of filters (including furniture), the collection features 2D and 3D objects. Via Wired.
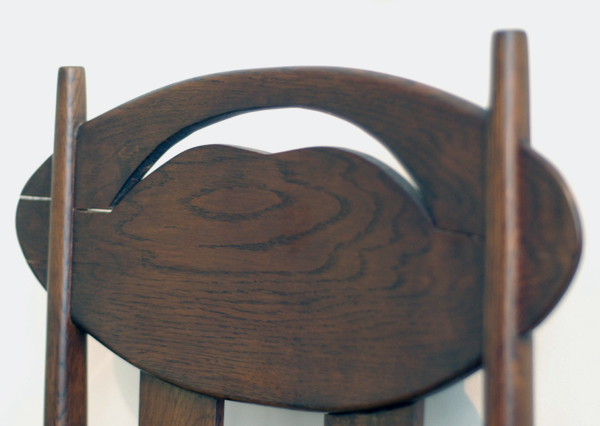
Though time hasn’t been kind to this example of Mackintosh’s side chair for the Argyle Street Tea Room, the back still shows a high degree of work, including the cutout and pierced and curved stiles.
I was in Glasgow recently to take a look at the furniture of Charles Rennie Mackintosh. I began my tour at The Lighthouse, Mackintosh’s first public commission for the Glasgow Herald. The building has been reimagined as a gallery and museum, featuring a fine overview of Mackintosh’s work (and spectacular view of the city from its repurposed water tower. This example of Mackintosh’s design for a side chair for Catherine Cranston’s Argyle Street Tea Room shows its age in the cracked back, but age doesn’t diminish the distinction of the design. The cutout evoking a bird in flight shows an Art Nouveau influence, and the high back creates a strong impression of verticality while also fostering an air of intimacy around the table. Having sat at in one of these at the Tea Room, I can report the design is more attractive than comfortable.
See the side chair in the Museum of Modern Art’s online collection.
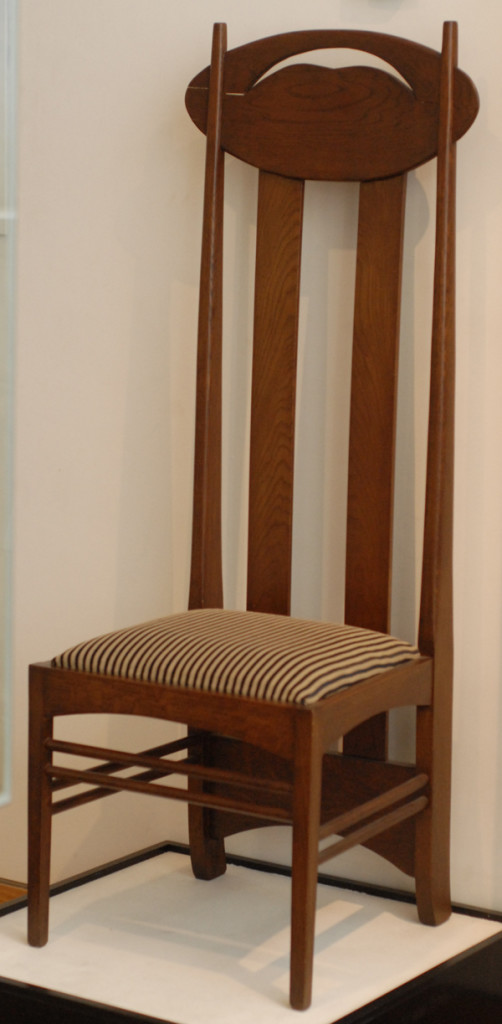
Mackintosh designed this distinctive side chair for Catherine Cranston’s Argyle Street Tea Room
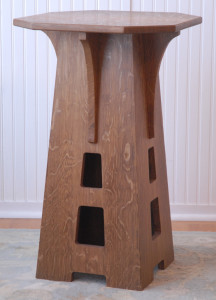
Limbert’s No. 239 Tabouret in fumed white oak.
While the tapered columnar base looks a bit elaborate, building it is relatively straightforward. I produced a pattern then used it to bring the sides to final shape, cut their mitered edges, and plow the grooves for the corbels. After roughing out the side blanks, I then routed them to final size with a pattern bit and mitered the edges with a 45-degree chamfer bit. A a 3/4-inch guide ring kept the ¼-inch spiral upcut bit straight as I plowed the grooves.
I took my usual approach to corbels, then cut the top to final size and chamfered its edges lightly. After sanding things to 220 grit, I fumed the table and applied a coat of boiled linseed oil. While I generally prefer to prefinish my parts that decision here proved problematic: packing tape does not stick to oiled wood. I had to scramble during assembly, replacing packing tape with masking tape and a couple of strategically-placed clamps. Despite this obstacle, I managed to get the base together, then installed the corbels, using a shaped caul and clamps to glue each one in place. Screws through corner brackets attach the top to the base.
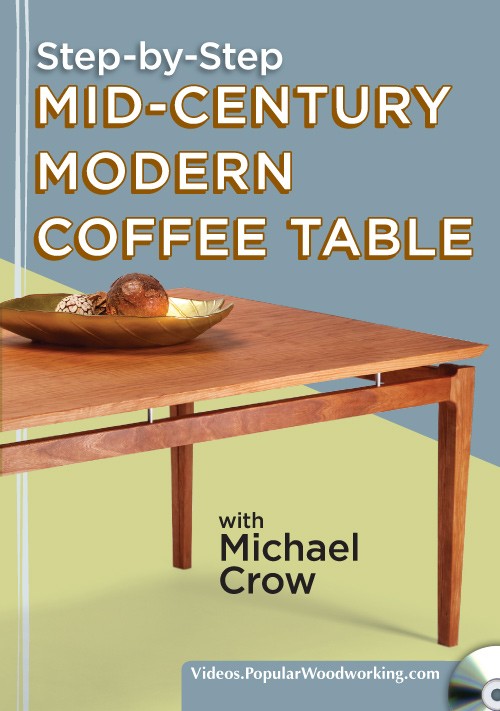
My step-by-step video on building a coffee table in the style of Finn Juhl is now available on shopwoodwhorking.com.
The second video I shot at the Popular Woodworking shop in January is now available on DVD and download. Include with the step-by-step video is a cut list and pattern for the tapered leg.
I find the minimalist design quite appealing–I especially like the effect of the floating top and the juxtaposition of sharp angles and smooth curves. I’ve built it with a plywood top to be historically accurate, (that’s the approach documented on video, too), but I think there’s enough play in the metal pegs joining base and top that movement of a solid top wouldn’t be too much of a problem. I think a solid, vertical grain fur top over a cherry base could look good.
If you prefer your woodworking instruction via the printed word, this Juhl-inspired coffee table is also one of the step-by-step projects featured in Mid-Century Modern Furniture.