Tag Archives: backsplash

Glass Tile Backsplash–Installation

the backsplash ready for grout

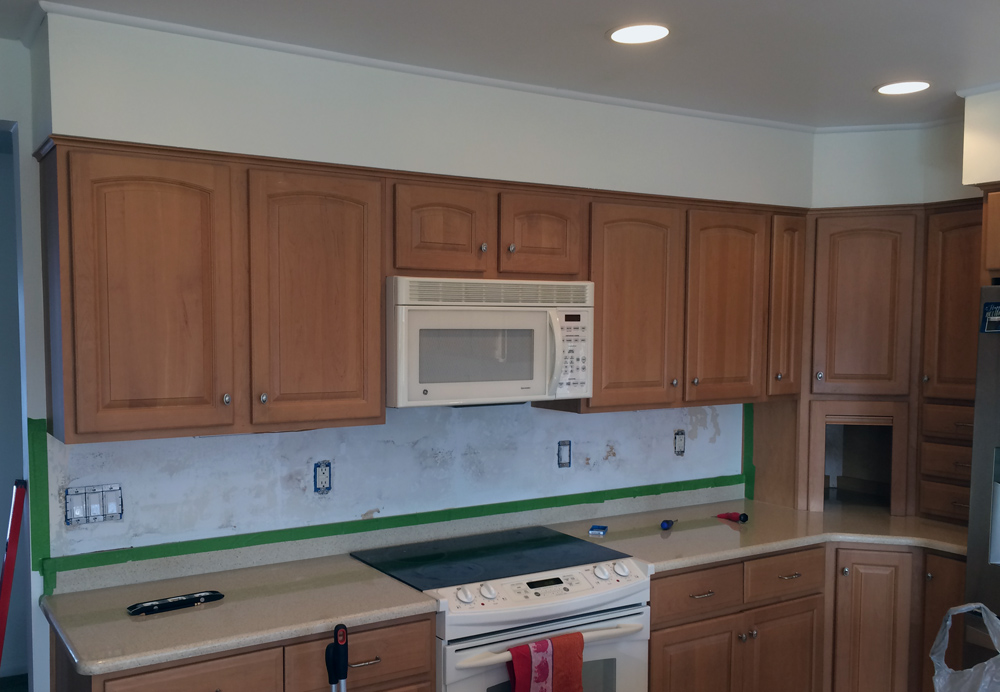
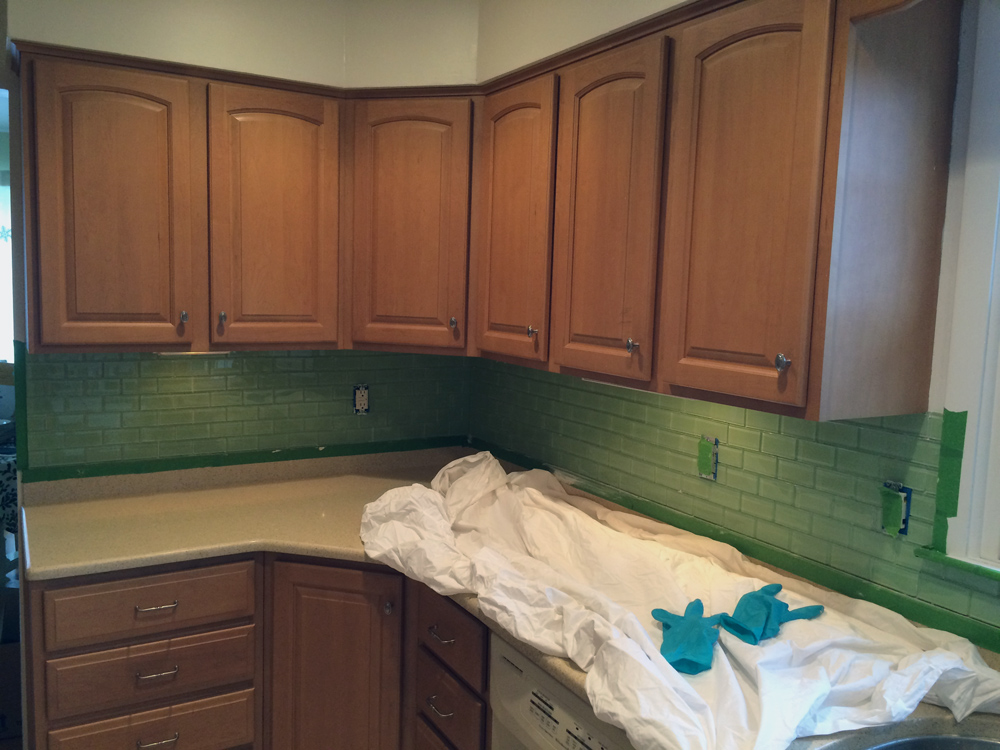
The tile installed and ready for grout.

Installation

Having tiled with ceramic tiles, I expected using glass to be very similar. That expectation was met. The reading I did beforehand (This Old House and DIY network were especially useful) suggested special care to avoid scratching the tile’s show surface and to accommodate glass’s translucent characteristic. In practice, I found the glass tile not especially prone to scratching, and the opaque color applied to the back meant my thin set lines didn’t telegraph through the tile, so quickly gave up on knocking them down. The one place I did take special care throughout the project was when cutting tiles–they seemed more prone to chip out than ceramic tiles, so when making cuts, I would cut in from one edge slightly then flip the piece over and finish the cut.

Layout is perhaps the most important aspect of a tiling project, and the kitchen set up made that task easy for this project. I worked in from each exposed edge toward either a corner or bank of cabinets and was able to run 7 full courses of tiles up the wall. The irregular vertical positioning of outlets made for some awkward cuts, but we were still able to install the entire backsplash, grout, and caulk over four days.

Tools and Materials

Glass Tile Backsplash–Before

The kitchen before a new glass tile backsplash.

The renovated kitchen in my sister-in-law’s kitchen included a wall paper treatment featuring marbled burgundy and floral border. Image via Zillow.

Over the holidays, my wife and I installed a glass tile backsplash in my sister-in-law’s new house, replacing the wallpaper installed by a previous owner as part of the kitchen renovation. Although labor intensive, it’s not too technically challenging a project. It helped that they’d stripped the wallpaper and scuff sanded the sheetrock beneath to provide tooth for the thin-set we used to adhere the tile.

The backsplash prepped for tile

Once the wallpaper was stripped and the sheetrock scuff sanded, the backsplash was ready for tiling.

Kitchen–counters and backsplash

Our intention to leave the kitchen remodel for a later date didn’t last much beyond the death of the expiring range a couple of months after we moved in. We bought a new stove and matching OTR microwave. Since there was no cabinet over the wall, I built a couple of plywood boxes and applied a face frame. With the cabinet (the door would wait for a while) and appliances installed, the kitchen looked even more depressing. Fresh paint could go a long way towards lightening the space, but there was still the beige backsplash. And the counters.

We contemplated a staggering array of yellows and the best accent stripe color for the new white subway tile backsplash. I wanted to do soapstone counters since soapstone can be worked with woodworking tools, but the lead time and cost suggested another alternative, one we found in Bungalow Kitchens. Wood counters are period appropriate, and IKEA offers different species at reasonable rates.

With materials and colors selected, we demoed the old backsplash and underlying plaster, installed concrete backerboard, installed the new backsplash using a budget wet saw, removed the old counters, installed new counters, sink, and garbage disposal  and painted over the course of a couple of weekends.

The ailing original stove and pot rack.

The ailing original stove and pot rack.

New cabinets increase storage and provide a place to anchor the microwave.

New cabinets increase storage and provide a place to anchor the microwave.

Demolition underway.

Demolition underway.

New counters, sink, and backsplash. The cabinets still need new doors, and the curlicue trim above the sink must go.

New counters, sink, and backsplash. The cabinets still need new doors, and the curlicue trim above the sink must go.