

The bottom of the original sill. The tightly-spaced growth rings are a sight to behold.
My neighbor presented me with an interesting challenge: mill a new windowsill for a garage window. He was replacing the old window and needed to replace the rotted sill. The original featured beveled edges to account for the angle of the sill and two grooves its bottom. The shallow groove provides a drip edge to keep water from running under the sill. The deeper groove accommodates the edge of the siding.
Milling the new sill was straightforward. Using the original sill as a reference, I set the table saw blade to the bevel angle and ripped the bevel. The complimentary angle on the opposite side was achieved by flipping the board and running it down the other side of the blade. After planing my saw cuts to produce a finished edge, I used a router to plow both grooves, taking multiple passes with a 1/4″ straight bit to produce the correct width and depth for the grooves.
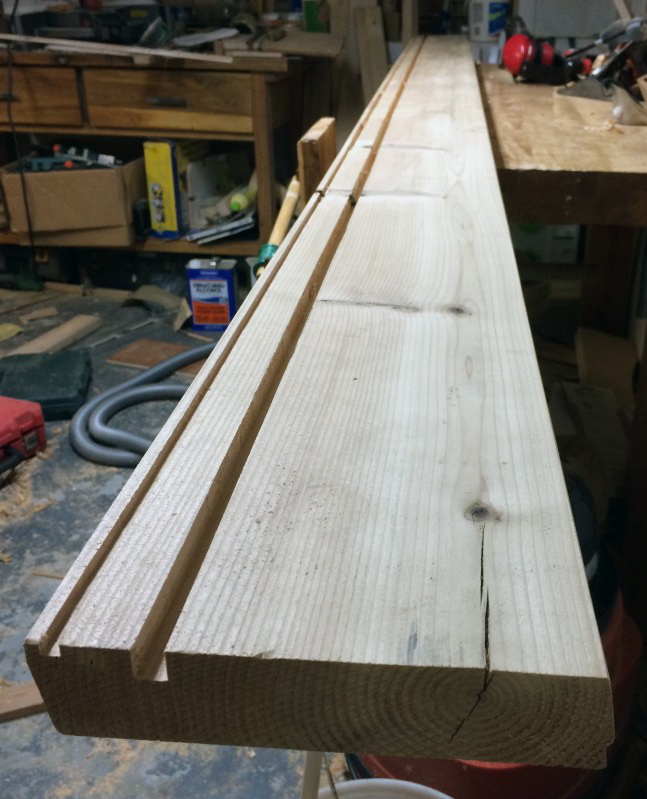
The new sill, featuring much wider growth rings.