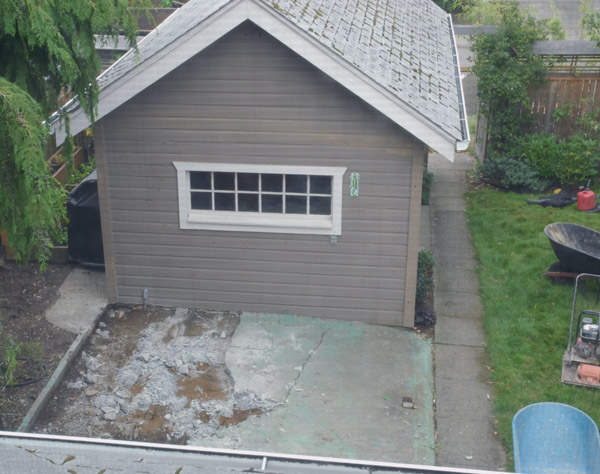
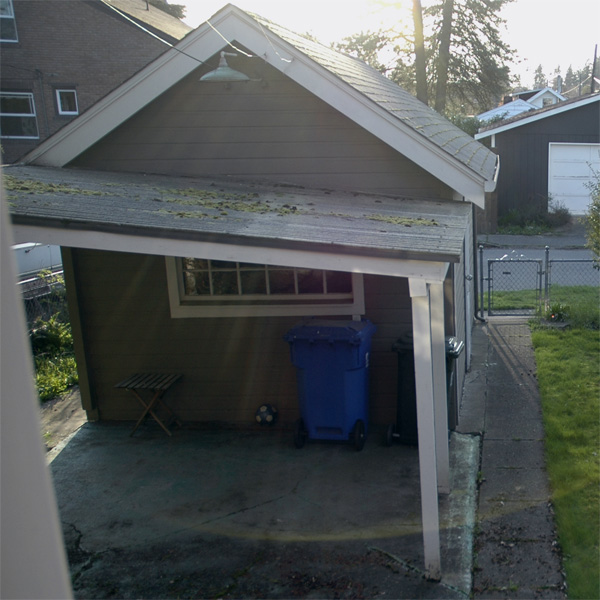
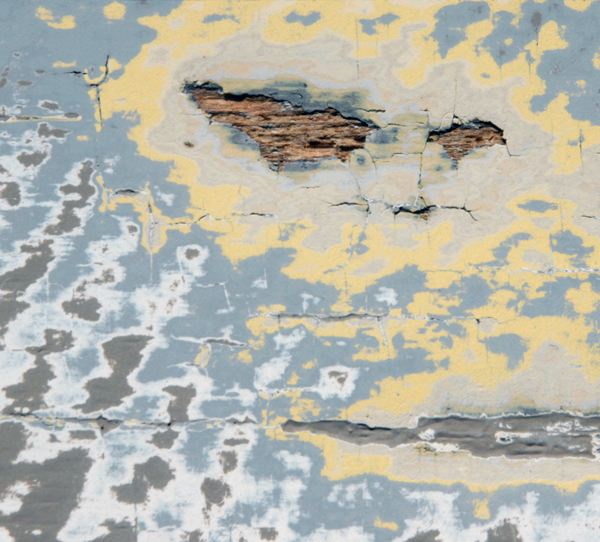
While the old porch was serviceable, it had been built for functionality, not form. The roofline was sloped to shed water, but the one-way slope contrasted harshly with the roofline of the garage. Nor did the algae covered fiberglass panels and peeling paint contribute to the effect. Still it kept the table dry and provided a convenient place for ammonia fuming, so we tolerated it. Since the patio was being replaced, it seemed reasonable to replace the porch as well. Continue reading
Tag Archives: 2013
A Craftsman-Appropriate Patio–Construction
Construction began with some destruction. I’d agreed to knock down the porch before the crew from Father Nature Landscapes, so the week before they were do in, I put on my safety glasses and ear protection and took a sledgehammer to the porch. It surprised me how easily it came down. After cutting its remains into station-wagon sized chunks, I hauled the porch to the dump. Continue reading
A Craftsman-appropriate patio–design
Having (finally) decided to replace our decrepit patio, we defined our requirements–appropriate for our Craftsman bungalow, follow roughly the same footprint, and a new covered porch–we iterated through variations on the same basic idea until we settled on a final plan. We preserved the same basic footprint, slightly expanding the side bed and pulling out a small paved section next to the house to create a new bed. Continue reading
Patio–Before
We’ve been thinking about a new patio for years. The original featured multiple coats of peeling paint over cracked concrete. Topping the patio was a functional if ugly covered porch. Working on other projects, we continued to give the patio some thought, especially when nice weather pulled us outside. But it stayed low on the list. Until this summer.
Patio Bolt
God or the devil may or may not be in the details, but there is definite satisfaction. We recently had our old patio replaced. As our first major project we hired out, it was a little odd to not be doing it ourselves. I did, though, manage to leave a little work for myself. Part of the patio plan includes a new covered porch, which required new footings for a couple of posts. The crew from Father Nature Landscapes dug the holes and placed a couple of Sonotubes, then bricked around them. The rest was up to me. Continue reading
An Arts & Crafts TV Stand–Construction

The reverse tapered legs, overhanging top, and stepped arch on the bottom rail place this TV stand in the West Coast Arts and Crafts style.
The stand is essentially a case bookended by two face frames, with the frames’ stiles extending below the bottom rail to form legs. I began by cutting the side top and bottom rails to size and using a slot cutter to rout a 1/2″ deep x 1/4″ wide groove in one edge of each rail. I then cut side panels from some 1/2″-inch plywood and routed a rabbet along the short edges of the panel. I like to pre-finish my projects when I can, and I took that approach here. After sanding through 250 grit, I wiped a coat of boiled linseed oil onto the side components and followed with a couple of coats of blonde shellac, then wet sand to 400 grit. With the finish in place, I glued the tongues on the plywood panels to rabbets on the rails. To finish the box, I cut the bottom and top panels from 1/2″ plywood, finished them, then attached them to the side using loose tenons.
Blue, Yellow, Brown: A Little Touch Up Painting
I spent much of the holiday weekend scraping, sanding, and painting the clapboards on the south side of the house and had plenty of time to contemplate life’s profundities, questions like “At what point does “shuffle” become indistinguishable from “repeat” on even a long playlist?” and “Who spackles square feet of exterior surfaces?” Most on my mind, though, was this: is there any home improvement task less rewarding than freshening paint? Do the crews painting the Golden Gate feel satisfaction when they finish a coat, or just despair when they have to begin again immediately? Certainly there are worse jobs–anything involving waste lines, for example. But done well, the prep, priming, and painting produce an effect almost indistinguishable from the point where you began. There’s no peeling or fading, but there isn’t the drama of a new color. Continue reading
An Arts & Crafts TV stand — design
If design is about solving problems, then the problem I was attempting to solve with this design for a minimal tv stand was that of grasping hands. The knobs and buttons of my home theater components were proving irresistible to my toddler son, and I wanted to replace my existing stand–a wide, Shaker-ish piece with open shelves–with something smaller and enclosed. Continue reading
An Arts and Crafts Picture Frame
I was delighted to find this Hokusai print while in Kyoto and wanted to build a frame with an Arts & Crafts influence. I didn’t have to look far for a suitable design–several American Arts & Crafts makers produced mirrors in this style with the stiles capturing rails in through tenons. Continue reading
Limbert No. 234 Side Table–Construction
I’ve admired the No. 234’s design for some time, but at 18 inches, it seems a little short for a side table. Before committing to white oak or cherry for my final project, I rehearsed the build in pine. Since the wide board I picked up had some nice quarter-sawn figure along both edges, I took some time cutting around knots and glued up the top and base. While my panels dried, I prepared the template, laying out the pattern on a piece of plywood and building a quick frame sized for the square cutouts. Using a template for the cutouts on the template requires substantially less time than drilling out the corners of each cutout, sawing close the line and sanding and filing to final shape. Continue reading