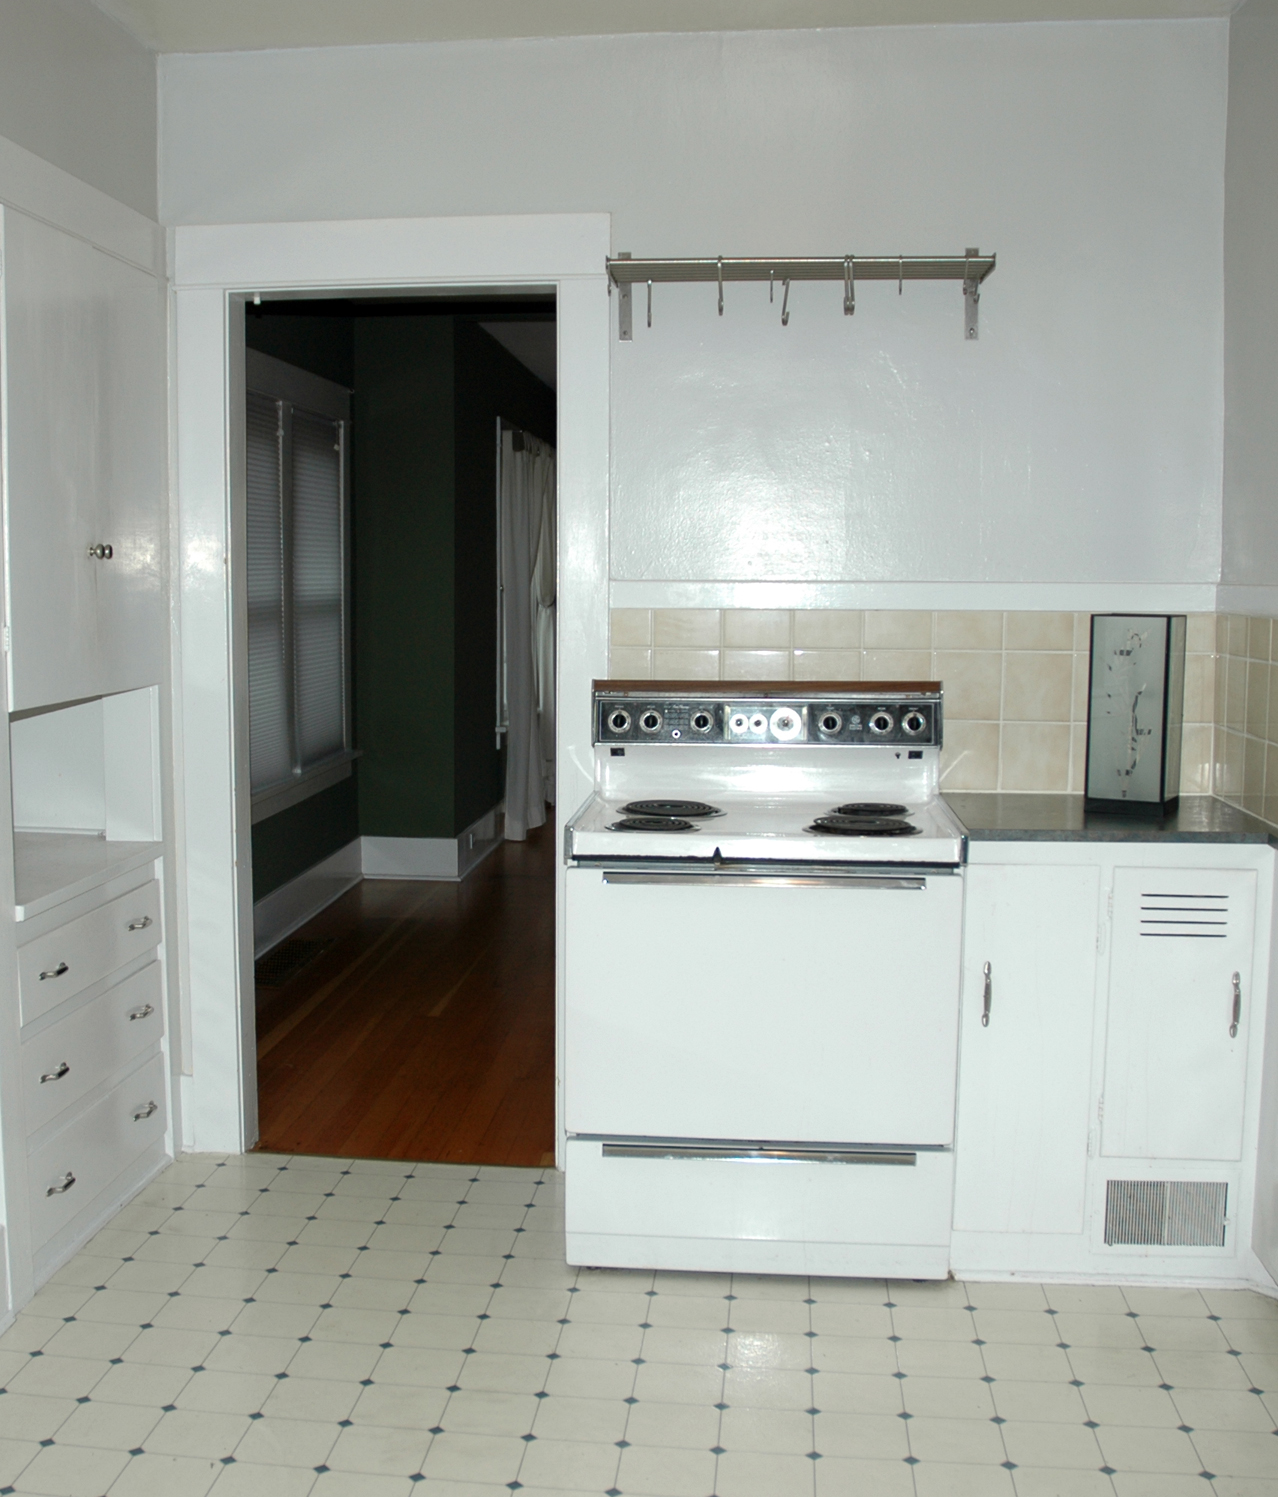
Our intention to leave the kitchen remodel for a later date didn’t last much beyond the death of the expiring range a couple of months after we moved in. We bought a new stove and matching OTR microwave. Since there was no cabinet over the wall, I built a couple of plywood boxes and applied a face frame. With the cabinet (the door would wait for a while) and appliances installed, the kitchen looked even more depressing. Fresh paint could go a long way towards lightening the space, but there was still the beige backsplash. And the counters.
We contemplated a staggering array of yellows and the best accent stripe color for the new white subway tile backsplash. I wanted to do soapstone counters since soapstone can be worked with woodworking tools, but the lead time and cost suggested another alternative, one we found in Bungalow Kitchens. Wood counters are period appropriate, and IKEA offers different species at reasonable rates.
With materials and colors selected, we demoed the old backsplash and underlying plaster, installed concrete backerboard, installed the new backsplash using a budget wet saw, removed the old counters, installed new counters, sink, and garbage disposal and painted over the course of a couple of weekends.

The ailing original stove and pot rack.

New cabinets increase storage and provide a place to anchor the microwave.
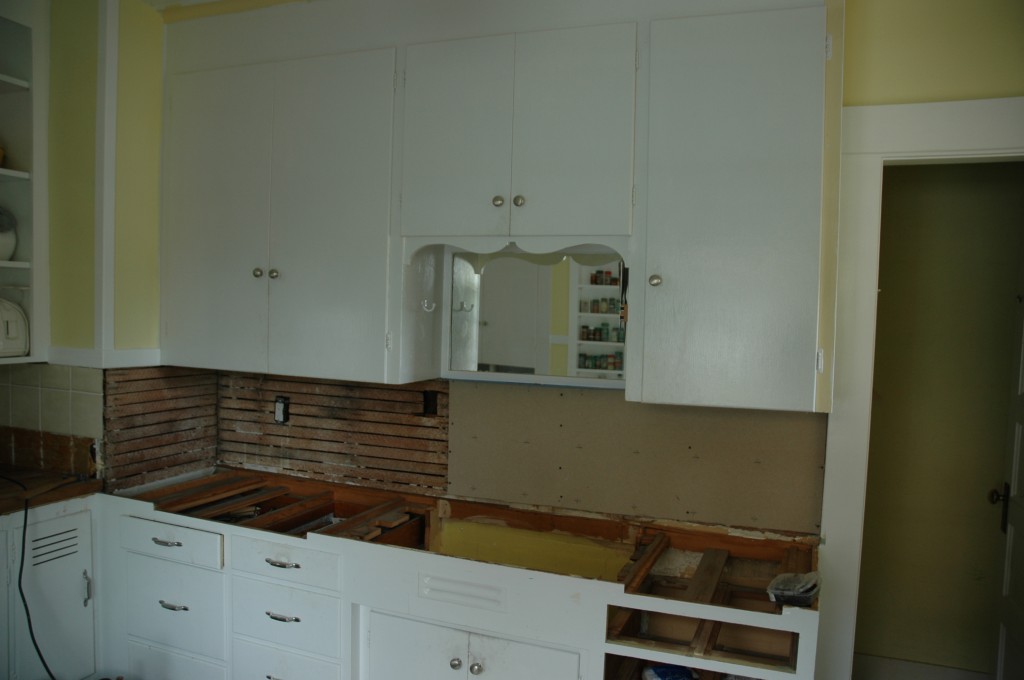
Demolition underway.
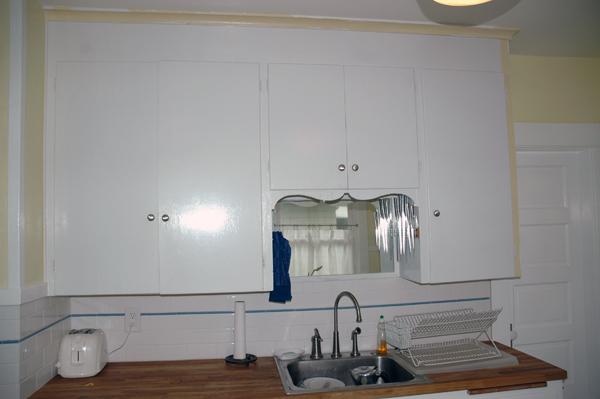
New counters, sink, and backsplash. The cabinets still need new doors, and the curlicue trim above the sink must go.