
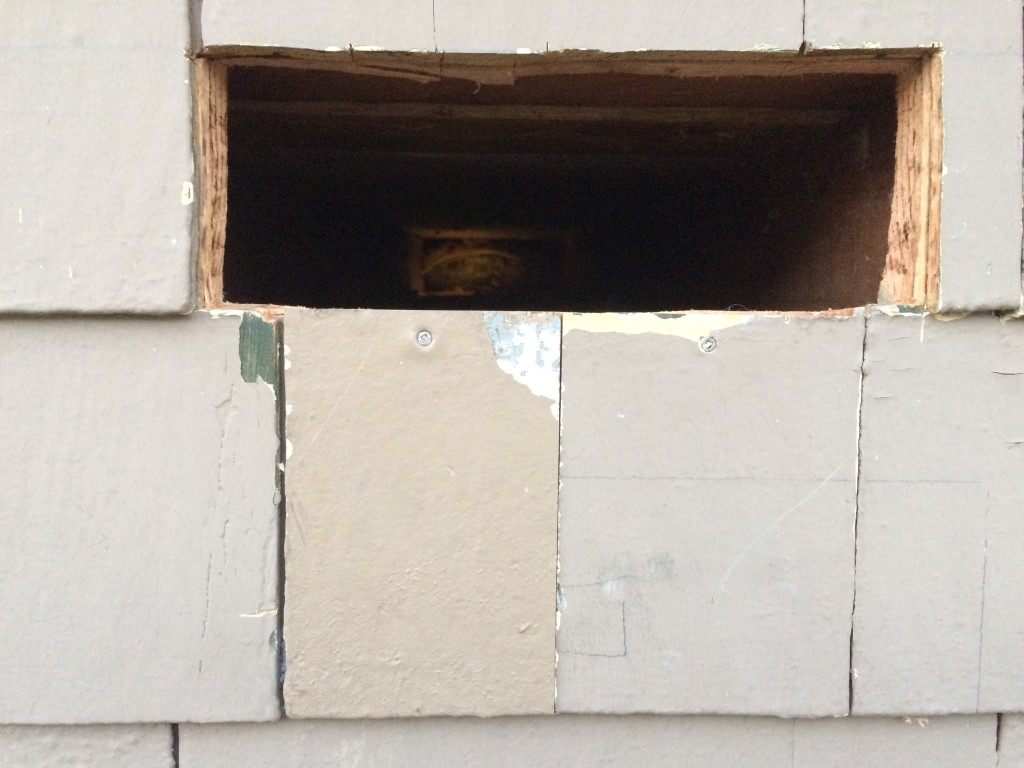
Cutting a hole in your house is a bit troubling. Here I’ve squared my opening. A hint of the house’s original green stain is visible on a shingle on the bottom right of the cutout.
Installation of a waterline for an ice maker was prompted by the purchase of a new fridge, which in turn entailed replacing the stove and over-the-range (OTR) microwave to ensure matching finishes (fortunately the dishwasher was an integrated model and concealed behind cabinetry).
New appliances presented an opportunity to revisit our kitchen venting. At some point, the kitchen featured a circular fan cut into an exterior wall, but it had been removed and walled over. When we moved in, I installed an OTR microwave set to recirculate air through a filter. It was a modest improvement over no ventilation, but I wanted to vent the new microwave to the outside. Doing so required cutting two holes–one on the exterior of the house, one in the kitchen ceiling–and connecting them with ductwork.
I began by planning the vent route. Ideally I could vent in a straight line up from the kitchen ceiling up through the roof. Some careful measuring showed that approach would have sent the duct through the floor of our guest room on the second floor, not dead space in the eaves as I’d originally estimated. With a roof exit impossible, I had to go out the side of the house.
To determining the location of the external hole, I used a length of wire coat hanger to drill out from the eaves, leaving the wire sticking outside to provide a reference point. I measured down from there and drilled an exploratory hole. Starting small here makes sense: my first attempt put me in the rim joist, not above, a mistake corrected with a wooden plug, caulk, and a concealing replacement shingle. My second attempt hit the mark, and I slowly expanded that hole, using my vent cover to test final fit.
Cutting into the ceiling was an easier proposition aside from the usual risks of dealing with plaster-and-lathe finishes. After removing the old microwave and cabinet and using a stud-finder to verify I was going to cut into a joist, I used a hole saw to cut into the ceiling. Having avoided any gross mistakes, I was ready to install a new duct.
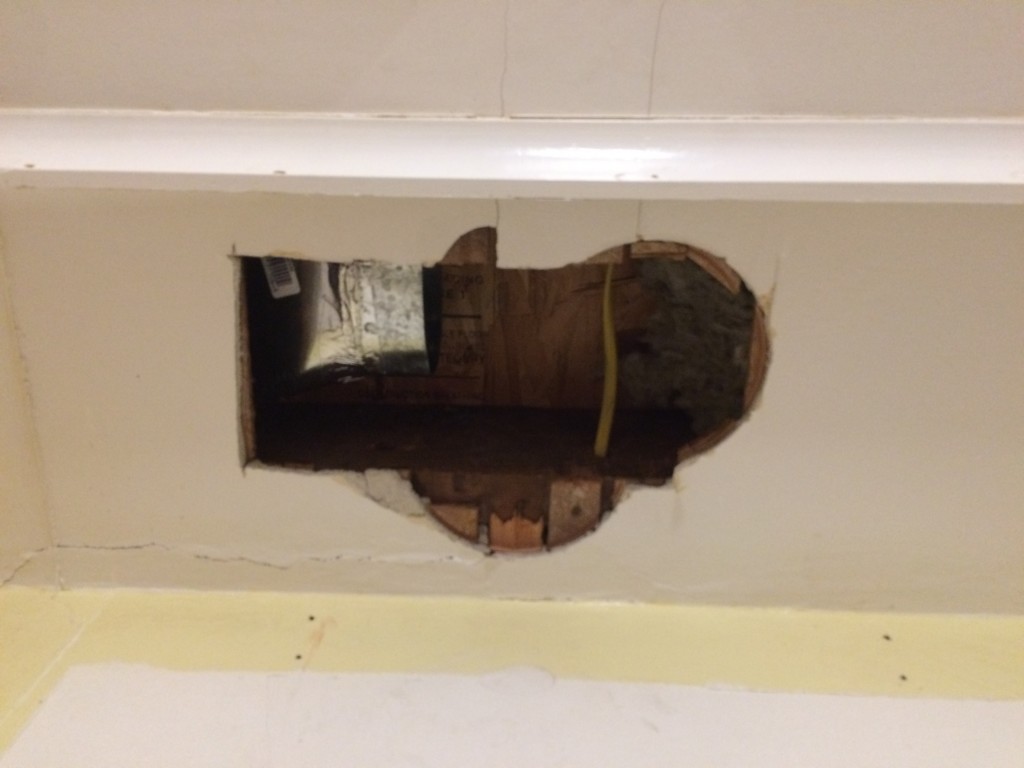
Fortunately the cabinet’s position left room between the joists to fit the duct.
Pingback: Kitchen Exhaust–Assembling the Duct | 1910 Craftsman
Pingback: Kitchen Exhaust–Cabinet Retrofit | 1910 Craftsman