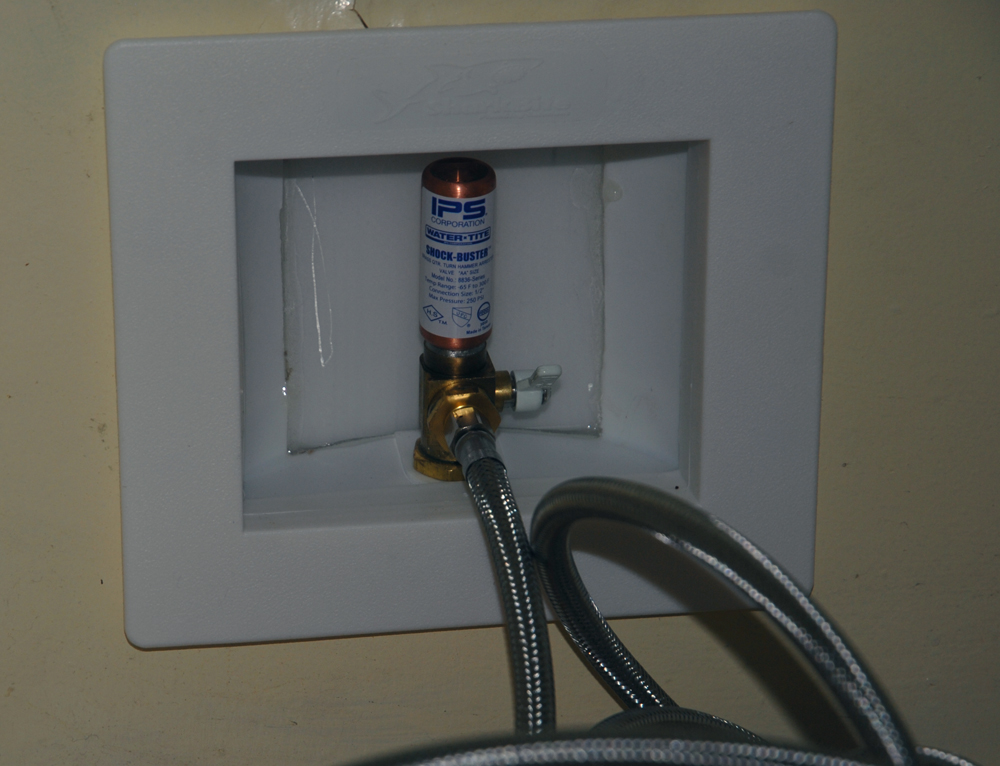
An outlet box neatly finishes the new line.
After a decade of frozen drain lines and inner shelves dripping with water, we were ready to retire our old fridge. We were also ready to retire our ice trays–it was past time to install a waterline for an ice maker. After completing the work in hours, I regretted not doing in much sooner.
I began by deciding to use PEX instead of extending our existing copper lines. Two major considerations drove that decision: 1. The ease of installation; and 2. PEX’s ability to flex more than copper in freezing conditions. It is far less effort to connect PEX using fittings than it is to sweat pipe, and while low temperatures here don’t often threaten to burst pipes, I appreciated that PEX was less likely to burst if water froze.
With that decision made, the design followed. The new 1/2″ line would T off an existing cold water line, connect to a shutoff valve, then exist basement under the back enclosed porch and run up the shallow wall separating our fridge alcove from the mudroom closet. An outlet box keeps would keep the installation tidy and help minimize the risk of damage to the valve. Since I only had a couple of joints, I chose SharkBite fittings to join the PEX. They are easy to install, the PEX simply pushed into the joint to the correct depth. Had I been working with more joints, I might have used compression rings. They are harder to install than the SharkBite fittings but cost less.
Before running the line, I prepared the cutout for the outlet box. First, I made a cardboard template sized for the cutout and then traced it on the wall. A quick check with my stud finder showed no obstructions behind the wall, so I made my cut and used an extension bit to drill a hole at the base of wall. After some touch up paint, I was ready to install the new line.
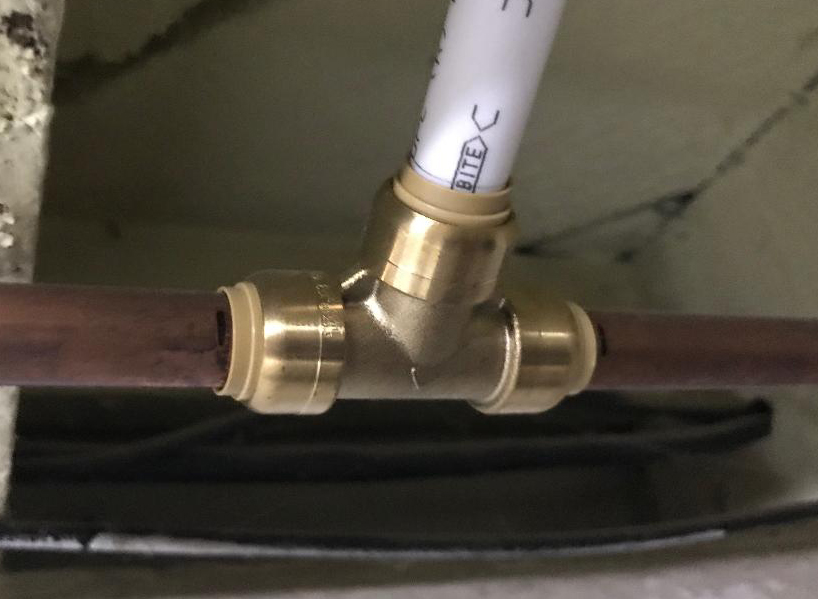
A SharkBite t-joint connects the new pex line to an existing copper line.
I began by shutting off the water and draining the line, I then used a pipe cutter to remove a short length of pipe from branch line and inserted the SharkBite t-joint between the two lengths of copper pipe. I then cut a length of PEX and inserted it into the leg of the t-joint. This length of PEX terminated in a SharkBiteshut-off valve positioned just before the line exited the basement into the crawlspace beneath the mudroom. This valve provides makes it easier to work on this new branch line if I want to extend it in the future, perhaps installing an exterior spigot for a garden hose.
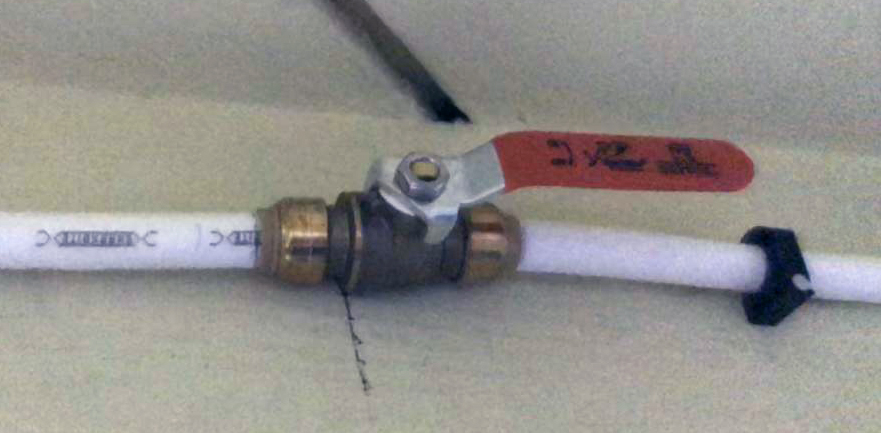
A shut-off valve provides a little peace of mind and simplifies later work on the branch line.
Another length of PEX ran from the valve outside the basement and up the wall. After trimming this line to length, I anchored the outlet box and installed the faceplate. A final check of the new branch showed no leaks after turning the water main back on. The new line was ready for the installation of the new fridge.
Pingback: Kitchen Exhaust--Preparing for a New Duct | 1910 Craftsman