
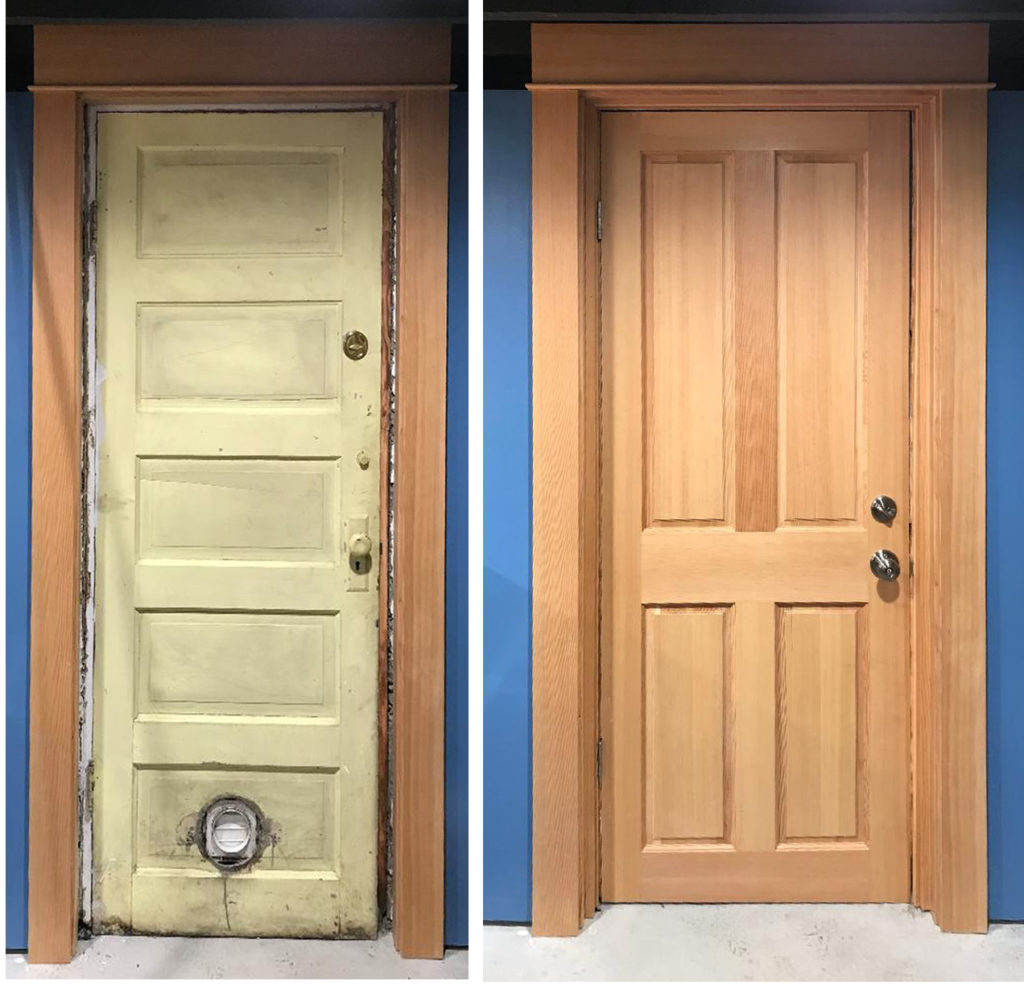
As our laundry room took shape, the old basement door stood out, it’s faded, haphazard paint, split panels and cutout for a defunct dryer vent contrasting sharply with fresh paint and new trim and cabinets.
I’d entertained the idea of installing a glazed door of some sort to let more light into the basement, but shockingly prices took me to the local architectural salvage yard. An hour spent in a freezing warehouse yielded a new door in fir (coincidentally matching our front door) in roughly the right size.
To bring the door to final size, I ripped and cross cut it with a tracksaw. Rather than try to fit the not-quite-square opening, I cut the door to the smallest of three measurements I took for height and width. Tbe results might not look as polished as cutting and planing to a perfect reveal, but the door fit in the opening with no fine tuning. After a light sanding with 220 grit to clean up the door, I vacuumed it clean and wiped on three coats of satin Polycrylic.
Having removed the pre-cut hinge mortises when I trimmed the door to final width, I had to cut new mortises. I transferred the hinge location to the door from the frame and laid out the new mortises, then used my trim router to rough out the joints before fine tuning with a chisel. I could then hang door and install hardware. The door had been pre-drilled for a lockset, but I had to drill another series of holes for the deadbolt, a task greatly simplified by a jig. After transferring the latch locations to the door frame by rubbing a pencil along the latches and shutting the door, I marked and cut the mortises for the latch plates.