Tag Archives: tv stand

Evolution of a TV Stand

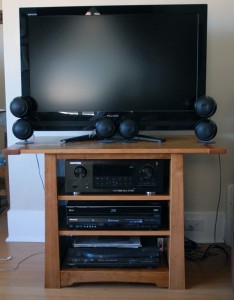
My son has been enjoying The Police lately, so I’ve had ample time to contemplate the old TV stand I replaced last year, which now serves a stereo stand. I’m reminded of the difference time, taste, skill, and resources can make in a design. I’ve built three TV stands over the last fifteen years, and each one encapsulates the capabilities and materials available during construction.

FirstTVStand

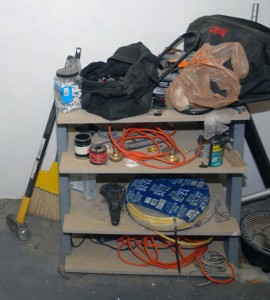
My first TV stand, now a home for electrical supplies.

The first was plywood, the shelves cut to size by the local lumberyard and housed in dadoes cut in the 2 x 4 legs with a circular saw. Screws secured the shelves to the dadoes. Then I finished it using paint leftover from an apartment remodel. The circular saw and cordless drill used to build the stand represented the bulk of tool collection at the time. The slanted front echoed the ladder bookshelves I’d built for the living room, and each shelf was designed for a specific component–receiver, VCR, and DVD player. Continue reading

An Arts & Crafts TV Stand–Construction

Arts and Crafts TV stand

The reverse tapered legs, overhanging top, and stepped arch on the bottom rail place this TV stand in the West Coast Arts and Crafts style.

The stand is essentially a case bookended by two face frames, with the frames’ stiles extending below the bottom rail to form legs. I began by cutting the side top and bottom rails to size and using a slot cutter to rout a 1/2″ deep x 1/4″ wide groove in one edge of each rail. I then cut side panels from some 1/2″-inch plywood and routed a rabbet along the short edges of the panel. I like to pre-finish my projects when I can, and I took that approach here. After sanding through 250 grit, I wiped a coat of boiled linseed oil onto the side components and followed with a couple of coats of blonde shellac, then wet sand to 400 grit.  With the finish in place, I glued the tongues on the plywood panels to rabbets on the rails. To finish the box, I cut the bottom and top panels from 1/2″ plywood, finished them, then attached them to the side using loose tenons.

Continue reading