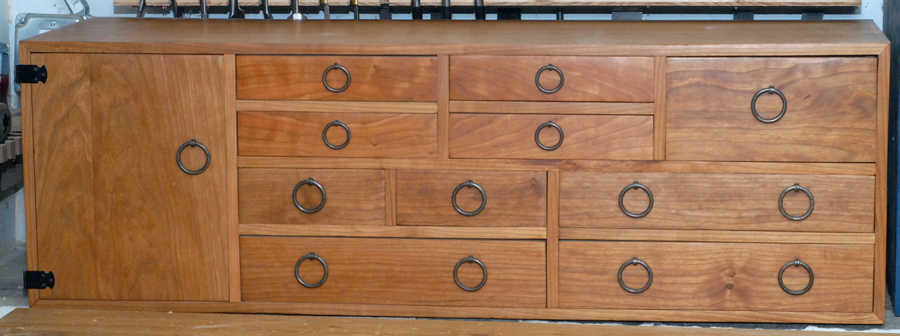
Modern construction techniques belie a design inspired by tradition. Locking miters join the case and dadoes house the many dividers.
With the front of the case divided into doors and drawers, I was ready to begin construction. Construction of the cabinet provided an opportunity to clear out the 1/2″ cherry veneer plywood I’d accumulated over the course of several projects.
Locking miters join the case. I cut these on the router table, then used a dado jig to guide the router as I plowed the dadoes for the many dividers. With the case joinery cut, I glued up the case and applied shop-made edge banding, mitering the corners. I edge banded my divider stock and cut to length before rabbeting the ends and plowing dadoes where needed. After assembling the case, I glued the dividers in place and stapled the back into its rabbet.
To expedite assembly of so many drawers, I rabbeted them together. The drawers fronts and back are rabbeted to capture the sides. After assembling the drawer boxes, I routed a 1/4″ x 1/4″ rabbet to house their bottoms and glued some 1/4″ plywood in place. Shop sawn veneer and traditional ring pulls from Lee Valley complete the drawers. I bookmatched a resawn board to produce the slab door and completed the chest with an oil and wax finish.

