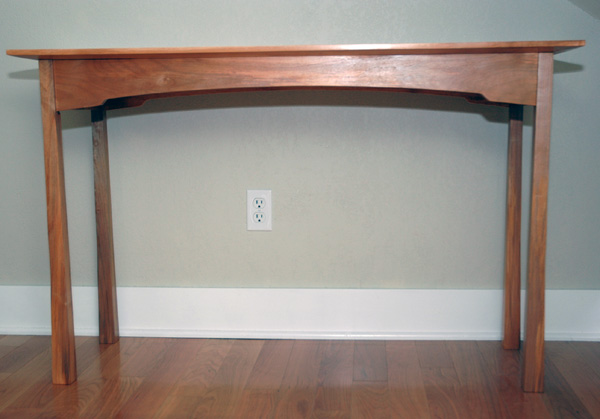
I don’t like dimensioning rough stock, but my local sawyer had a good price on red alder. So construction began with a lot of time on the jointer and planer. Once I’d prepped my stock, I chose the best boards for the tops and glued them up.
While the tops dried, I prepared the template for the long aprons, then cut the blanks. The pattern was roughed on the bandsaw, then each apron was routed to final shape using the template to guide the router. While the original design called for a stepped arch on the short aprons as well as the long, they made the table look too busy, so I went with straight aprons for the sides.
After cutting the tops to final size, I added a two-inch bevel along the bottom edges. The long bevels were cut on the table saw. Since the top was far to long to bevel the short edges on the table saw. I used scrub and smoothing planes to bevel the shorts ends.
The legs began as 8/4 stock roughed out to 1.5″ blanks. Before cutting the tapers, I pre-drilled for hanger bolts. Another template simplified reproducing the curved taper 16 times with the router.
After sanding all parts through 220 grit, I wiped on three coats of blond shellac, then lightly wetsanded with 400 grit to smooth things out once the shellac had cured.
Then it was time for assembly. I attached the aprons to the to the top through pocket screw holes after reaming out the holes to allow the top to expand freely. To allow the tables to knock down for transportation, the legs were attached using hanger bolts and corner blocks.


