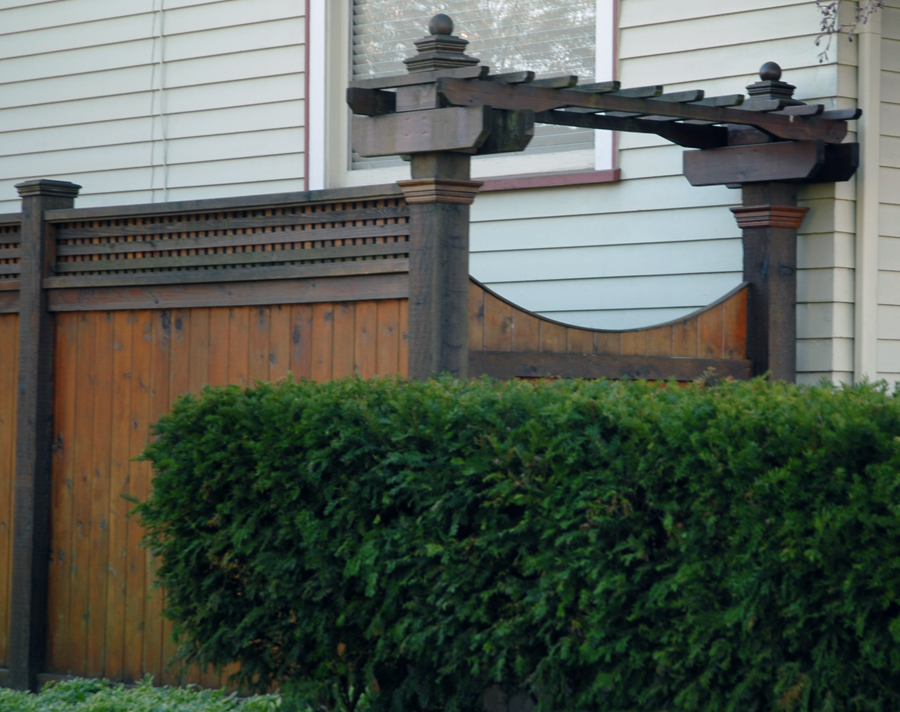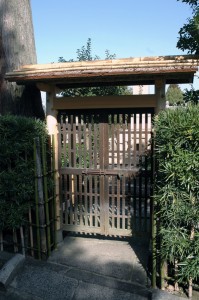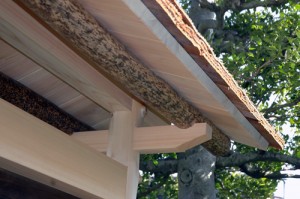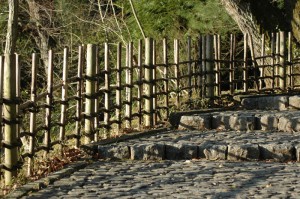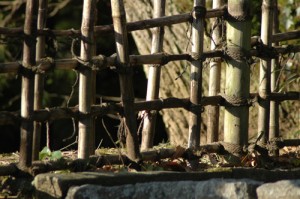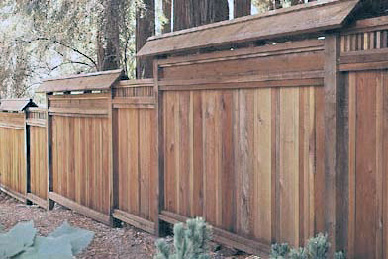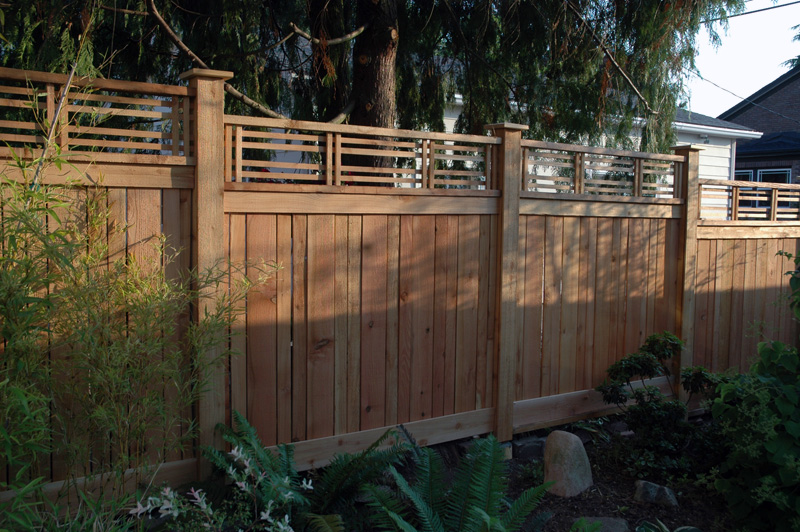
One of the side sections. Deciding how and where to adjust the fence to meet the slope of the yard required quite a bit of head scratching.
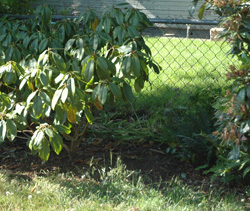
To keep fence construction manageable we tackled the three sections (two sides and back) one at a time. Construction began with a materials list–gravel, concrete, pressure treated posts, cedar, and stainless steel screws–and a trip to Mill Outlet Lumber. Then it was time for demolition. Taking a chain link fence down is relatively easy, but posts set in concrete are another matter. If the posts weren’t located where new posts would go in, I cut the posts off with a reciprocating saw where they met concrete. Digging out the posts that had to go was less pleasant.

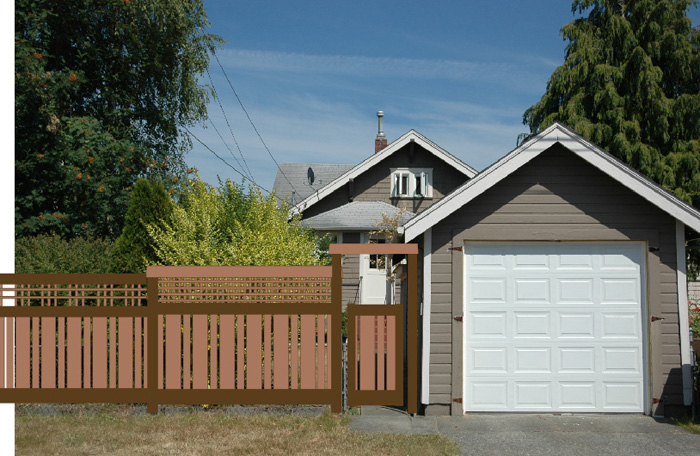
The fence in potentia.
There’s a surprising amount of debate online about whether posts should be set in concrete or alternating levels of dirt and gravel. I opted for a base of about 6 inches of gravel in a thirty inch posthole, then concrete. To avoid showing the perforated faces of the pressure treated posts, they were wrapped in cedar once the concrete had set. To avoid visible fasteners, I screwed the fence rails to the posts using pocket holes drilled with a Kreg jig. With the rails in place, the infill went in fairly quickly.
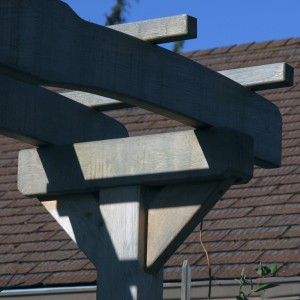
In another departure from the source design, only a few sections were topped with the gable roof. To produce the gable, two boards were butted together at a 90 degree angle and screwed together. Other posts were capped with a simple 7″ x 7″ beveled cap. I ripped a 2″ x 8″ to width, then cut it into squares. The bevel was cut on the table saw with the blade set to about 7 degrees. After sanding, the caps were fastened to the posts using silicon caulk.
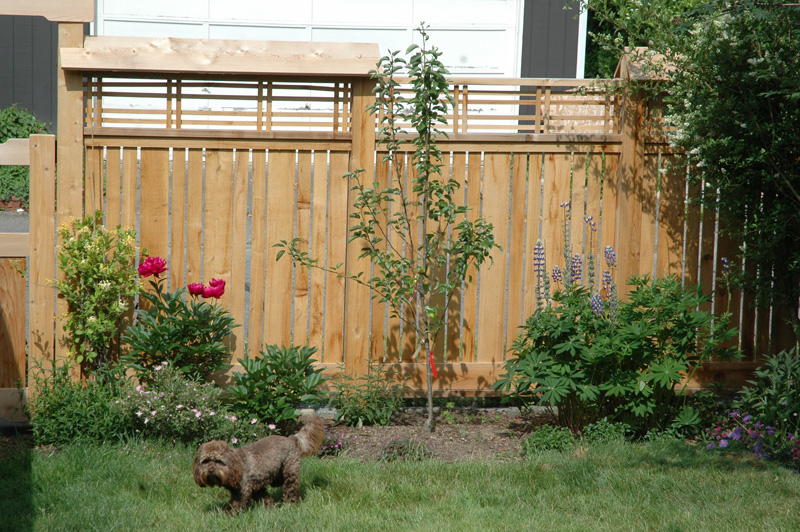
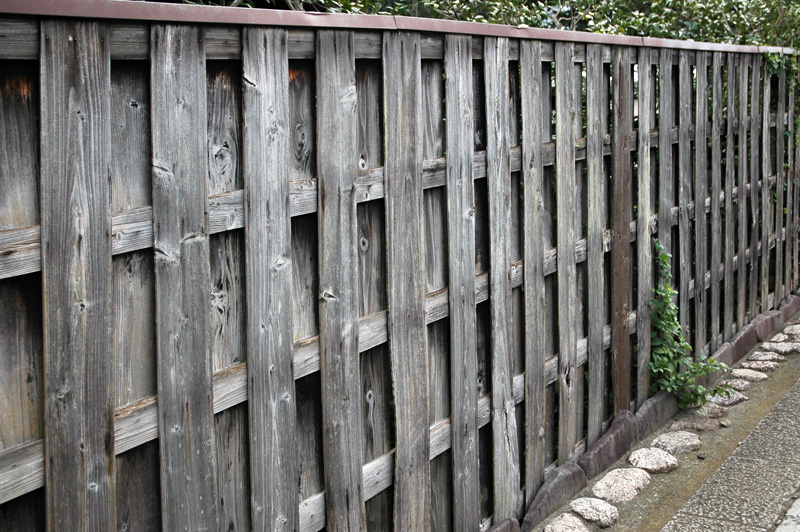
The back section of fence.

