Kitchen Exhaust–Cabinet Retrofit

modified cabinet bottom

A duct cutout and new screw holes were required to accommodate the new microwave.

In addition cutting open the house to fit a new duct, I had to modify the cabinet to fit the new microwave. Because the microwave was on order, I found installation instructions online and used them to layout the bottom. I had to drill new mounting holes and a rectangular cutout for the duct, neither of which was especially difficult and further simplified by having the cabinet off the wall. Continue reading

Kitchen Exhaust–Assembling the Duct

Duct drive cleat

A drive cleat joins the ends of two sections of ducts and is then hammered flat to lock the joint.

Rectangular metal duct connects the holes in my kitchen ceiling and exterior wall. I assembled the duct out of three-foot long flat sections, folding two pieces into ell-snapped walls and joining those to form a section of duct. To join the two sections I needed together, I used S-cleats on the long sides drive cleats on the short sides as outlined here. I then sealed the seams with mastic, which seemed to take forever to dry. For the long seams, I opted to use a high-quality foil tape, an approach I’ll use for any future duct work I do given its ease of use and instant gratification.  Continue reading

Thicknessing Fir

wide old-growth fir

Face jointing fir for a Nakashima-inspired build.

I try not to hoard wood, though odds and ends do accumulate. I did buy some wide fir boards circa 2015 for a solid version of the Juhl coffee table. The death of my jointer-planer put a stop to that build, so the stock, most of it still rough, lingered on a shelf.

A new commission for a compact media stand caused me to revisit that fir, and with the dead machinery banished from basement, I was forced to surface it by hand. I don’t enjoy jointing or thicknessing by hand, nor do I recommend it. But it is a viable option for board too wide to fit a powered jointer and planer. And whoosh of a sharp blade across a board and the scent of fresh-cut fir do offer a certain pleasure. Still, I was more than happy to finish stock preparation and move on to the build.

Kitchen Exhaust–Preparing for a New Duct

external duct opening

Cutting a hole in your house is a bit troubling. Here I’ve squared my opening. A hint of the house’s original green stain is visible on a shingle on the bottom right of the cutout.

Installation of a waterline for an ice maker was prompted by the purchase of a new fridge, which in turn entailed replacing the stove and over-the-range (OTR) microwave to ensure matching finishes (fortunately the dishwasher was an integrated model and concealed behind cabinetry).

Continue reading

A Mid-Century Dresser

mid-Century Modern dresser

A wide Mid-Century Modern dresser with a mitered plywood case.

I spotted this Mid-Century modern dresser at thrift store in Saugerties, New York. It features a mitered plywood case overhanging a leg-and-aprons base. Though the white knobs create a jarring effect, the design and build feature some thoughtful details. The grain runs continuously across the drawer fronts in each row, with the top narrower than those below. The heavy, curved molding breaks the facade, and the mitered divider creates more visual interest than would a divider meeting the outer frame in a simple straight line. The faceted leg offers an interesting alternative to a turned or straight leg, with the curved ends of the long apron providing a subtle counterpoint to the strong horizontal lines of the case.

Construction seems straightforward, with a mitered case and mortise-and-tenoned base. Care in execution and subtle details elevate what might otherwise be an uninteresting design, which is an important reminder about the cumulative effect a series of small details has on a finished work. I would still use different pulls if I were reproducing the design.


More Information

I’ve written extensively on furniture of this period both here and in my book Mid-Century Modern Furniture (available on Amazon and ShopWoodworking).

Ice Maker Waterline

water line outlet box

An outlet box neatly finishes the new line.

After a decade of frozen drain lines and inner shelves dripping with water, we were ready to retire our old fridge. We were also ready to retire our ice trays–it was past time to install a waterline for an ice maker. After completing the work in hours, I regretted not doing in much sooner. Continue reading

Refinishing the stairs–runner

New runner on refinished stairs.

A runner completes the stair project.

It felt a little wrong to install a runner over stairs from which I’d stripped carpet and then refinished, but the stairs were a little slippery under foot. I had no desire to install the runner myself, so we spent an afternoon at a local rug and flooring shop looking for something that would suit both the dining room at the foot of the stairs with its deep green walls and sea-green rug and the upstairs with light tan walls. We settled on a tannish vine pattern over a blue-green base in 100% wool. Picking the pattern was the hard part: a few weeks later the installers spent a difficult three hours installing pad and runner, measuring each step to make sure the runner stayed centered on stairs that were inconsistent in width.

Refinishing the stairs–topcoat

After sanding, I applied three coats of Bona Mega using a lambswool applicator.

After sanding, I applied three coats of Bona Mega using a lambswool applicator.

After the final sanding, I vacuumed and taped the walls, then was ready to apply my topcoat. I chose Bona Mega to match the existing finish and applied the Mega using a 5″ lambswool applicator, following the manufacturer’s directions. It was a surprisingly forgiving process–pour the finish and spread to an even coat with the applicator. So long as the next coat is applied within 48 hours, you don’t need to sand between coats, but I did hand sand with 220 grit before my final coat. Because stairs are high-traffic, I applied four coats over the course of a weekend. While it cured to final hardness, we could consider runner options.

Refinishing the Stairs–Sanding

Sanding the stairwell before refinishing.

Sanding off the old finish was slow work made more bearable with good dust collection.

Welcoming the excuse for a new tool, I picked up Festool’s DTS 400 REQ to reach areas where my Festool ETS 150/3 wouldn’t reach (aside: the DTS 400 REQ worked well for its intended purpose, but I agree with one reviewer who missed the symmetry of the DX 93: You go through more paper not being able to rotate a sheet on the pad). I began sanding at 60 grit and regretted I didn’t have any 40 grit (or even lower) on hand. I used the ETS 150 as much as possible, then switched over to the DTS 400 to reach into the corners of the treads and risers, working through higher grits to 180. After a weekend of sanding, I vacuumed the freshly-stripped wood and wiped it down with a damp cloth. As a probably-not-necessary step (or act of masochism), I then took a quick pass over the stairs with a card scraper. With one last vacuuming, the stairs were ready for a new top coat.

Refinishing the Stairs–Before

Carpeted staircase

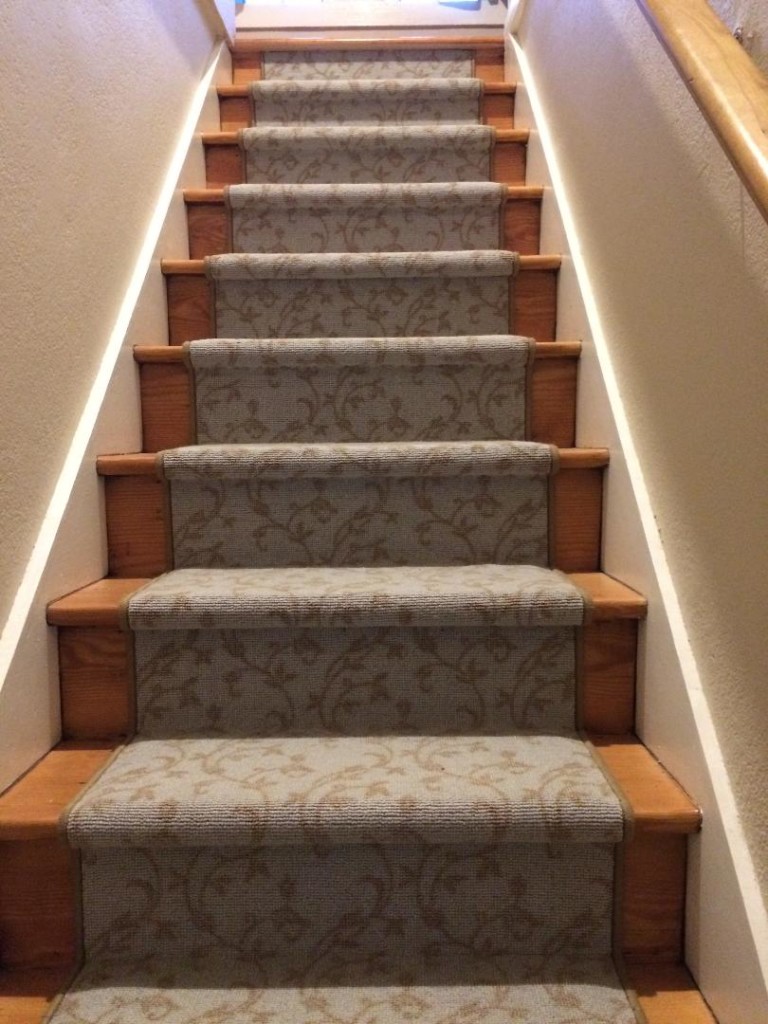
Carpeting covered the entire stairwell.

After ten years of indoor and outdoor projects, we were left with one last effort that wouldn’t require removing sections of the roof or overhauling basement drainage: refinishing our upper staircase.

The stairs were covered in the same bad carpeting as the downstairs bedrooms when we moved. Unlike with the bedrooms, where we removed carpet and underlying linoleum to reveal the original fir floors, we left the stairs untouched while we worked on the rest of the house. The carpet wasn’t pretty, but it was inoffensive, protected the stairs, and provided sure footing for pets and toddlers. With the summer in full swing and all my contractual obligations fulfilled, it was time to confront the stairs.

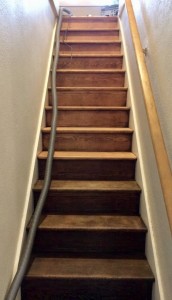
I began by thoroughly vacuuming to minimize spreading dust when pulling up the carpet. Then it was simply a matter of finding an edge and bringing a pair of needle nose pliers to bear. The carpeting came up easily, and for the first time in the history of our pulling up floor coverings in the house, it revealed no ugly surprises–no glued down linoleum, no layers of newsprint, no strips of tacked down salvaged tin strips, not even padding or tack strips.

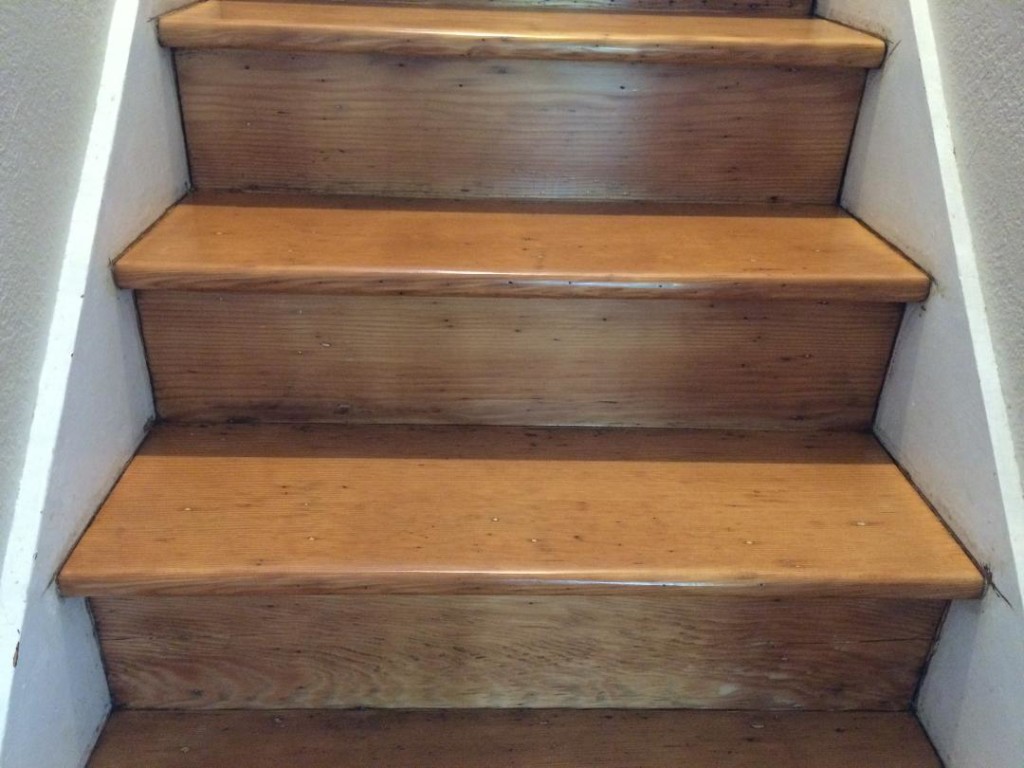
Instead we found worn but serviceable old growth treads and risers with a failing finish, an ideal candidate for refinishing.

Carpet removed from the staircase

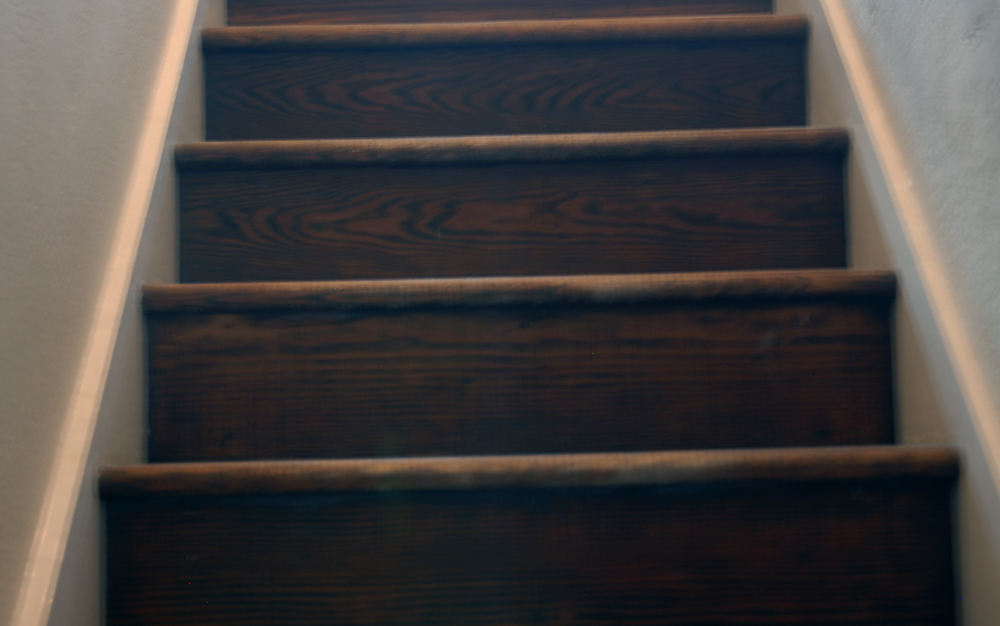
The carpet comes up, revealing no ugly surprises.